Design a unique dress
Design and create a unique no-sew dress from an old T-shirt or fabric scraps. Sketch, measure, cut, decorate, and personalize safely with glue.


Step-by-step guide to design and create a no-sew dress
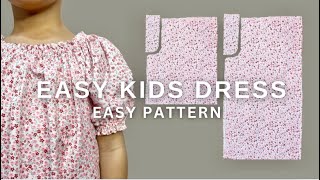
EASY Pattern to make kids dress! | diy dress 3-5 years old
Step 1
Gather all the materials listed and lay them out on a clear workspace so you can reach everything easily.
Step 2
Sketch your dress design on paper showing the front and back and choose the dress length and any special details.
Step 3
Measure from the shoulder to your chosen hem line and write down that measurement to use for cutting.
Step 4
Lay the T-shirt or fabric flat on the table and smooth out any wrinkles so your cuts are straight.
Step 5
Use chalk or a fabric pen to mark cutting lines for the hem sleeves and neckline following your sketch and measurement.
Step 6
Cut the fabric along the marked lines using fabric scissors with adult supervision.
Step 7
Cut fringe or slits for ties at the bottom or sides if your design includes tie or fringe details.
Step 8
Attach fabric scraps or pockets onto the dress using fabric glue exactly where you want them.
Step 9
Add drawn decorations with fabric markers or fabric paint following your sketch.
Step 10
Glue on ribbons buttons or patches as extra decorations where you like them.
Step 11
Let all glued and painted parts dry for the time listed on the glue or paint label before wearing.
Step 12
Try on the dress with an adult to check the fit and look.
Step 13
Make small fit adjustments using safety pins or add more fabric glue with adult help if needed.
Step 14
Take a photo of your finished no-sew dress and share your creation on DIY.org.
Help!?
What can we use if we can't find fabric glue, fabric paint, or a T-shirt?
If you don't have fabric glue or paint, use hot glue with adult supervision or iron-on hem tape to attach scraps and permanent markers for drawn decorations on a T‑shirt or pillowcase, following the 'let all glued and painted parts dry' step.
My cutting lines came out uneven or the neckline is too big—how can I fix that?
Lay the fabric flat and smooth, re-mark straight cutting lines with chalk and a ruler, trim small amounts at a time with fabric scissors, and use safety pins or add more fabric glue during the 'try on the dress' step to adjust the fit.
How can I adapt the activity for younger children or older kids?
For younger children have an adult pre-measure and pre-cut the T‑shirt and provide large stickers and fabric markers for decorating, while older kids can follow the full measuring step, cut fringe or slits, use stencils with fabric paint, or try iron-on transfers for more detailed designs.
What are simple ways to personalize or improve the finished dress?
To personalize and strengthen the dress, finish raw edges with iron-on tape or a simple hem, glue-on pockets or layered scraps where instructed, add ribbons or buttons from the decoration step, and take a photo of the finished no-sew dress to share.
Watch videos on how to design and create a no-sew dress
Easy Pattern to Make Kids Dress 3-5 Years Old | Beginner Sewing
4 Videos
Easy Pattern to Make Kids Dress 3-5 Years Old | Beginner Sewing

⭐️HOW TO MAKE KIDS DRESS PATTERN TUTORIAL | DRESS DRAFTING | SEWING EOMMA❤️
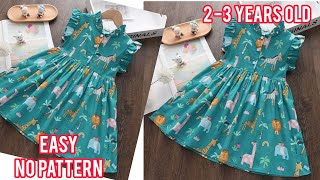
Easy pattern to make kids dress// diy dress 2-3 years old//no pattern//sewing
HOW TO SEW AN EASY TODDLER DRESS FOR BEGINNERS. SEW ALONG, ELLIE AND MAC SWEETIE PIE DRESS PATTERN
Facts about upcycling and fabric crafts for kids
♻️ Around 17 million tons of textiles are thrown away each year in the U.S. — upcycling old shirts into dresses helps keep fabric out of landfills!
👕 It takes about 2,700 liters of water to make one cotton T-shirt, so reusing an old tee saves a surprising amount of water.
✂️ Many no-sew T-shirt dress hacks use simple cutting and tying — kids can often make a fun dress in under 20 minutes with adult help.
📏 Small measurement changes matter: shifting a key measurement by just 1 inch can make a dress feel noticeably tighter or looser.
🎨 Fabric glue dries flexible and many washable fabric glues hold up after curing, so decorations can survive playtime and washes.
How do I design and create a no-sew dress from an old T‑shirt?
What materials do I need to make a no-sew dress from fabric scraps?
What ages is this no-sew dress activity suitable for?
What are the benefits and safety tips for making a no-sew dress?
