Design a Scrapbook Journal
Create a personalized scrapbook journal using photos, drawings, stickers, and recycled materials, practicing cutting, gluing, journaling, and organizing memories creatively.


Step-by-step guide to design a scrapbook journal
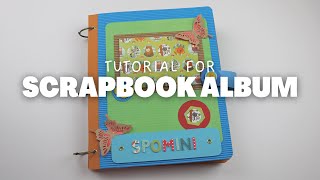
Scrapbook Album for Kids - Tutorial
Step 1
Clear a flat workspace and lay out all your materials so you can see everything.
Step 2
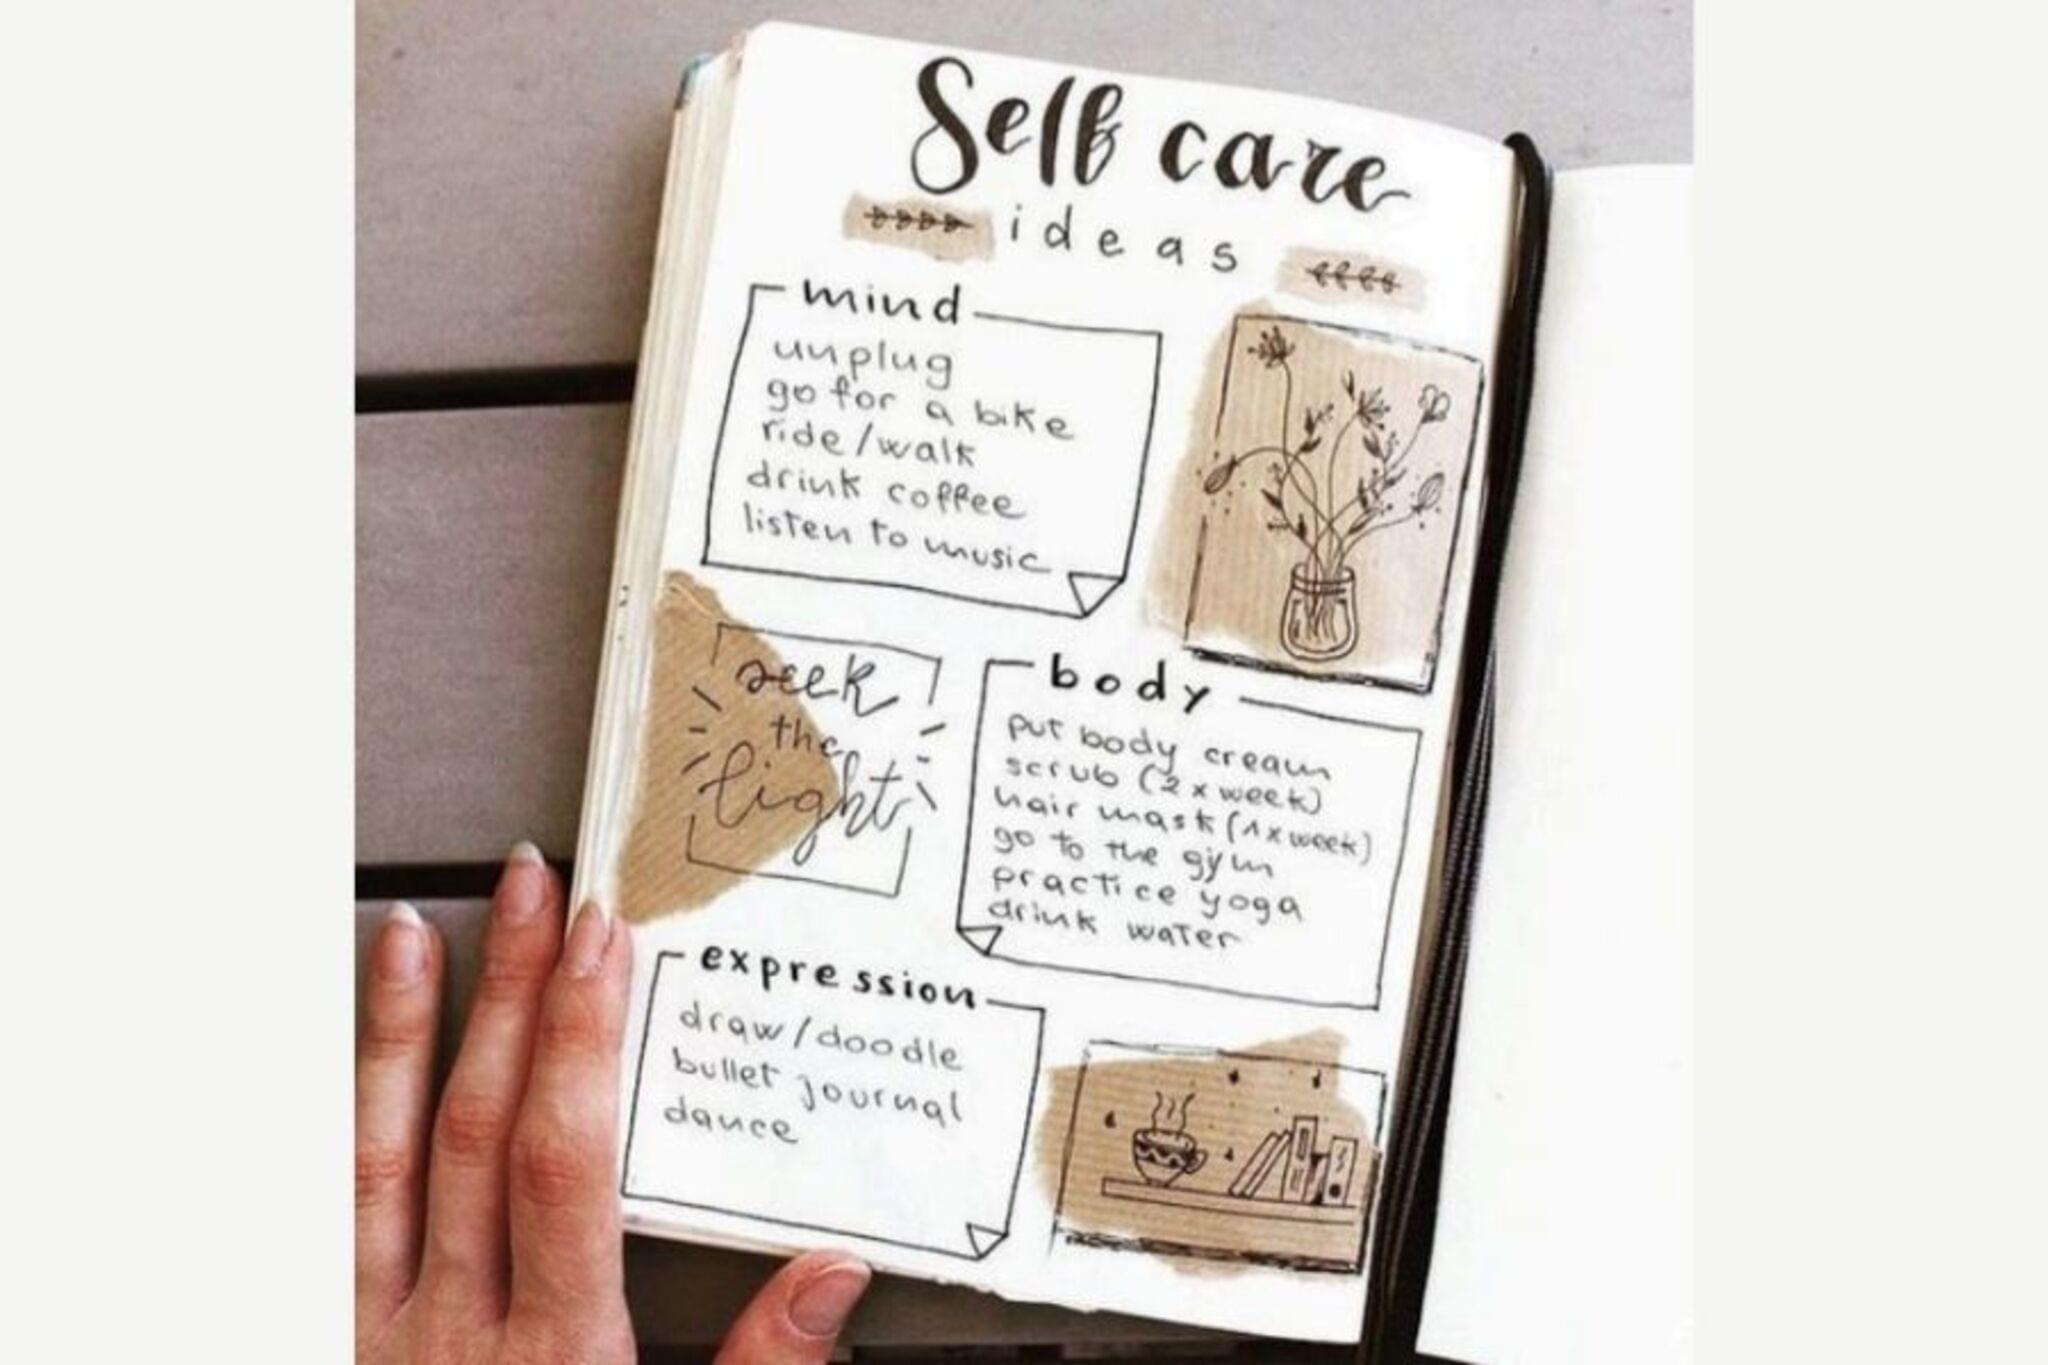
Pick a theme for your scrapbook journal like family trips pets or favorite memories.
Step 3
Decide on a title for your scrapbook and write it neatly on the cover.
Step 4
Sort your photos drawings and recycled pieces into small piles for different pages.
Step 5
Measure and trim photos and recycled pieces to the size you want using the ruler and scissors.
Step 6
Place trimmed photos and pieces on a page to try different layouts without gluing.
Step 7
Write a short caption or a one or two sentence journal line for each photo with your pen.
Step 8
Attach photos and recycled pieces to the page using glue stick or liquid glue.
Step 9
Secure any wobbly edges with a strip of clear tape so things stay in place.
Step 10
Add stickers and small decorations around your photos for extra fun.
Step 11
Use coloring materials to draw borders backgrounds or little doodles on the pages.
Step 12
Number or date each page so you can organize your memories in order.
Step 13
Let the glue dry completely before flipping pages or stacking the book.
Step 14
Share your finished scrapbook journal on DIY.org
Help!?
I don't have a glue stick or liquid glue—what can I use instead to attach photos and recycled pieces?
Use double-sided tape, glue dots, or photo corners as safe substitutes for the glue stick/liquid glue when you attach photos and recycled pieces to the page.
My photos or recycled pieces lift up after gluing—how do I secure wobbly edges?
Follow the step to secure any wobbly edges with a strip of clear tape and press the taped area flat or place a heavy book on the page while the glue dries so things stay in place.
How can I adapt this scrapbook project for different ages?
For younger children provide pre-cut photos and recycled pieces plus stickers and crayons instead of having them measure and trim with a ruler and scissors, while older kids can measure and trim photos, write longer journal lines, and plan layouts before gluing.
What are simple ways to enhance or personalize the scrapbook beyond the basic steps?
Add fabric scraps, ticket stubs, small envelopes glued to a page for keepsakes, use stencils or colored borders when you draw backgrounds, and number or date each page before you share your finished scrapbook journal on DIY.org.
Watch videos on how to design a scrapbook journal
An Insane DIY Scrapbook Journal to Make Today!
4 Videos
An Insane DIY Scrapbook Journal to Make Today!

Easy Scrapbook Page Mini Journal Tutorial - Using ONE sheet
Scrapbook For Kids - Tutorial
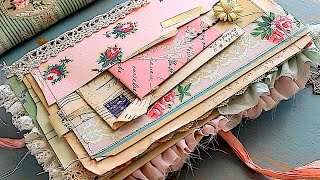
Make An EASY Junk Journal With ONLY Paper Scraps! Beginner Friendly Tutorial | Use UP Your Scraps!
Facts about scrapbooking and journaling
📚 The word 'diary' comes from the Latin 'diarium' meaning a daily record — people have kept personal journals for centuries.
🎨 Collage became a famous art form in the early 1900s when artists like Picasso and Braque started pasting papers and photos into paintings.
🖼️ Modern scrapbooking grew into a popular hobby and craft industry in the 1980s and 1990s, bringing albums, stickers, and specialized tools to crafters.
♻️ Using ticket stubs, packaging, or fabric scraps in a scrapbook is called upcycling — turning everyday throwaways into treasured keepsakes.
📸 Even in a digital age, printing a few favorite photos makes them tangible keepsakes that can last longer than images on a screen.
How do I create a scrapbook journal with my child?
What materials do I need to make a scrapbook journal?
What ages is designing a scrapbook journal suitable for?
What are the benefits of making a scrapbook journal with a child?
