Design a body template
Trace and design a paper body template to learn proportions, joint placement, and clothing outlines using pencil, ruler, scissors, and colored pencils.

Drawing Apps
Step-by-step guide to design a paper body template
Step 1
Gather all your materials and bring them to a flat workspace.
Step 2
Lay the large sheet of paper flat on the table so it won’t move.
Step 3
Use your ruler and pencil to draw a straight vertical center line down the middle of the paper.
Step 4
Decide how big one head will be and use the ruler to measure and mark that head-length seven times down the center line.
Step 5
Draw light horizontal guide lines across the paper at each head-length mark.
Step 6
Draw an oval for the head at the top between the first guide lines.
Step 7
Put small dots to mark joints for shoulders elbows wrists hips knees and ankles along the guide lines.
Step 8
Measure and mark shoulder width about two head-widths across the shoulder guide and hip width about one head-width across the hip guide.
Step 9
Connect the joint dots with straight or slightly curved lines to create simple arms and legs.
Step 10
Draw the torso and hip outlines around the guide lines to form the body shape.
Step 11
Erase extra construction lines and make small adjustments so the proportions look right.
Step 12
Carefully cut out the body template along the outer outline with scissors while an adult supervises.
Step 13
Use coloring materials to design clothes hair and details on your paper body template.
Step 14
Share your finished creation on DIY.org.
Help!?
What can I use if I don't have a large sheet of paper or a ruler?
Use poster board, taped-together printer pages, butcher paper, or a flattened cardboard cereal box for the large sheet and substitute a straight book edge, a tape measure, or a printable/smartphone ruler to draw the center line and measure head-lengths before cutting with scissors under adult supervision.
The paper keeps sliding and my marks look uneven—how do I fix that?
Tape the large sheet flat to the table, fold it in half to crease a perfect center line, double-check each head-length with your ruler before drawing light guide lines, and erase and adjust proportions before cutting.
How can I change the activity for different ages?
For toddlers pre-draw the center line and oversized body outline for them to color and stick fabric, for younger kids let them measure the seven head-lengths and mark joints with supervision while using safety scissors, and for older kids add extra subdivisions, refine shoulder/hip measurements, or create movable joints with brads.
What are fun ways to extend or personalize the finished paper body template?
After you carefully cut out the body outline, punch holes at the joint dots and fasten limbs with paper brads for movement, add glued-on fabric, yarn for hair, painted details, and photograph your creations or a wardrobe set to share on DIY.org.
Watch videos on how to design a paper body template
Easy HUMAN FIGURE DRAWING for KIDS step by step || Human figure drawings for beginners | How to draw
3 Videos
Easy HUMAN FIGURE DRAWING for KIDS step by step || Human figure drawings for beginners | How to draw
🌸 How I Draw Bodies 🌸 || easy & step by step
How To Draw HUMAN BODY | The Basics | Sketch Tutorial
Facts about figure drawing for kids
🧍 Artists often use 7.5 to 8 "heads" as a quick unit to draw adult body proportions.
📏 A person’s fingertips usually reach mid-thigh — a handy rule for placing arms and joints.
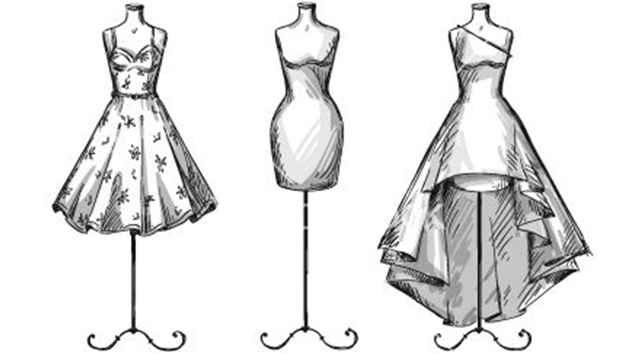
✂️ Tailors began widely using standard dress forms and mannequins in the 19th century to design clothes.
✏️ Building a figure from simple shapes (circles for joints, ovals for limbs) makes poses much easier to sketch.
🎨 Layering just a few colored pencils can create thousands of subtle shades to test outfit color ideas.
How do you do the body tracing and design activity?
What materials do I need for the body template activity?
What ages is the body tracing and design activity suitable for?
What are the benefits of tracing and designing a paper body template?
