Create Your Ultimate Gacha Character with DIY Star, Mila!
Design and craft your own Gacha character named Mila using paper, markers, stickers, and cardboard accessories, then create a short backstory and outfit.


Step-by-step guide to Create Your Ultimate Gacha Character with DIY Star, Mila!
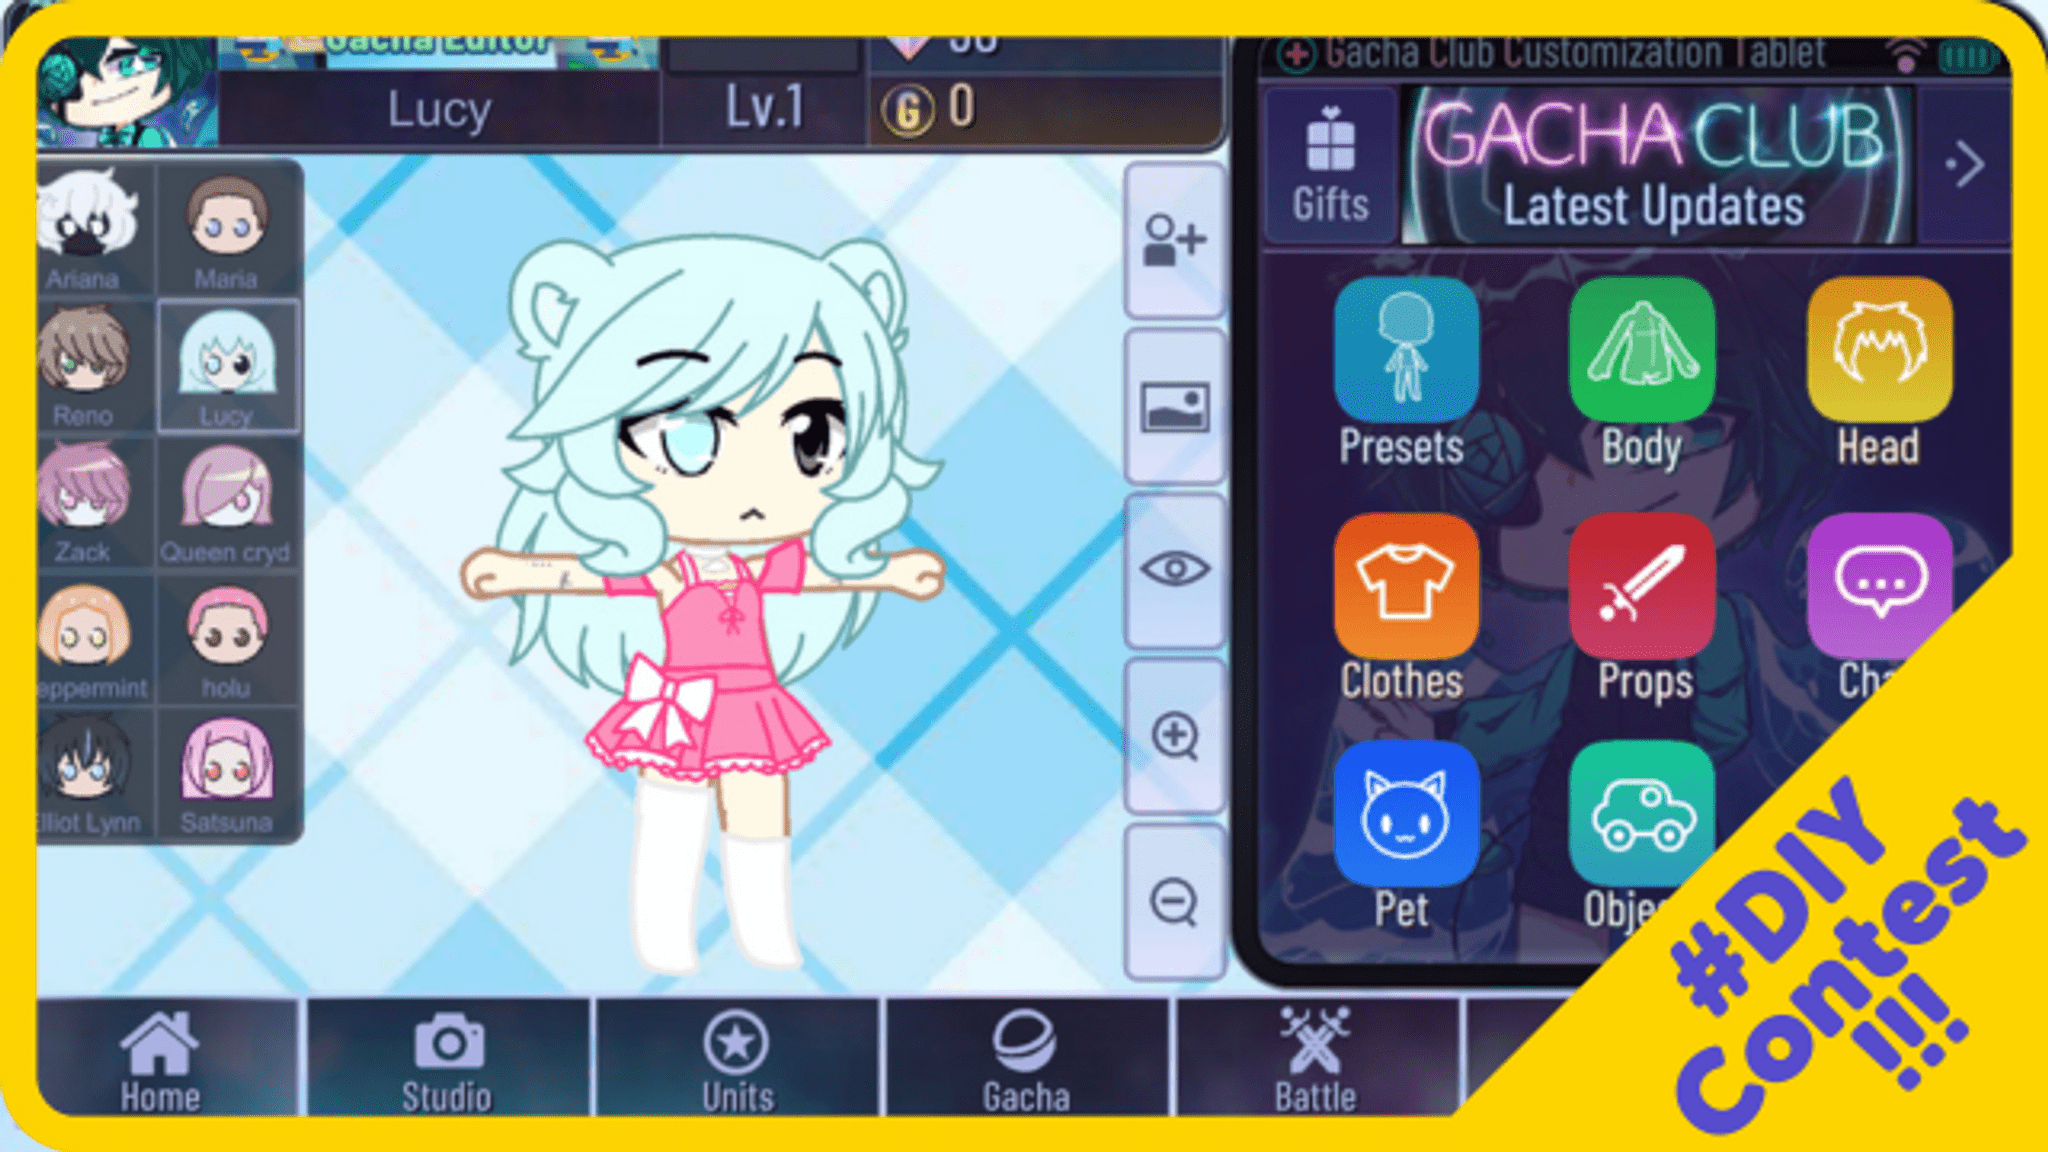
DIY | HOW TO MAKE PAPER DOLLs GACHA CLUB | Draw so easy Anime
Step 1
Gather all Materials Needed and set them on a clear workspace.
Step 2
Write down Mila's personality and two favorite colors on a small scrap of paper.
Step 3
Lightly sketch Mila's body shape and pose on paper using your pencil.
Step 4
Draw Mila's face and hair details on the sketch.
Step 5
Add Mila's outfit design and any small clothing details to the sketch.
Step 6
Color Mila with markers and colouring materials using the two chosen colors.
Step 7
Carefully cut out the colored Mila along the outer edge with scissors.
Step 8
Trace two fun accessory shapes onto cardboard using your pencil.
Step 9
Cut out the traced cardboard accessories with scissors.
Step 10
Decorate each cardboard accessory with markers and stickers.
Step 11
Attach the cardboard accessories to Mila with glue or tape.
Step 12
Write a short 2–3 sentence backstory for Mila on a small paper tag.
Step 13
Share your finished Mila creation and backstory on DIY.org.
Help!?
If I don't have cardboard, stickers, or markers, what can I use instead for the accessories and coloring?
Use a cereal box or folded cardstock in place of cardboard for tracing accessories (step 9), cut colored construction paper or foam sheets instead of stickers for decorating (step 11), and swap markers (step 6) for crayons, colored pencils, or watered-down tempera paints on paper.
What should I do if my cut-out Mila rips or the accessories won't stick?
If Mila rips while cutting along the outer edge (step 7), use sharper craft scissors and cut slowly on a flat surface, and if glue won't hold the cardboard accessories (step 12) try double-sided tape, glue dots, or small pieces of clear tape to secure them.
How can I adapt this activity for different age groups?
For younger kids, pre-draw Mila's body shape (step 3) and offer chunky crayons and ready-made stickers for coloring and decorating (steps 6 and 11), while older kids can add detailed outfit features (step 5), create mixed-media accessories from fabric or beads (steps 9–11), and write an extended backstory (step 13) to post on DIY.org.
How can we enhance or personalize our Mila after finishing her?
Enhance your Mila by laminating the colored cut-out (step 7), adding brad fasteners or tape joints for movable limbs when attaching accessories (step 12), gluing on fabric scraps or sequins for texture, and creating a decorated backdrop to photograph for DIY.org (step 13).
Watch videos on how to Create Your Ultimate Gacha Character with DIY Star, Mila!
10 Steps To Make a Gacha OC: 😳👈
3 Videos
10 Steps To Make a Gacha OC: 😳👈
How to create your own Gacha Character | Digital Art for kids | #doitwithdiy
![How I Make My Characters [Tutorial] || Gacha life/Gacha Club || Custom designs ||](https://img.youtube.com/vi/U2jwAz1xisU/mqdefault.jpg)
How I Make My Characters [Tutorial] || Gacha life/Gacha Club || Custom designs ||
Facts about papercrafts and character design for kids
🎮 Gacha games like Gacha Life let players mix parts to create millions of unique characters by combining hair, outfits, and accessories.
🧸 The word 'gashapon' comes from Japanese onomatopoeia — 'gasha' (the crank) + 'pon' (the toy dropping) — from capsule toy machines.
✂️ Papercraft turns flat paper into 3D models; some intricate designs use hundreds of pieces glued together to build sculptures.
🏷️ Self-adhesive labels (early stickers) were popularized in the 1930s, making stickers an easy way to customize characters and crafts.
📦 Cardboard is a favorite for kid crafts because it’s sturdy, inexpensive, and perfect for upcycling boxes into cool accessories.
How to create your Ultimate Gacha character Mila step-by-step
What materials do I need to design and craft Mila?
What ages is the DIY Gacha character Mila activity suitable for?
What are the benefits of making a Gacha character like Mila?
