Create Your Own Fridge Magnets
Make colorful fridge magnets using craft foam, small magnets, glue, and decorations; design shapes, experiment with arrangements, and personalize your refrigerator.
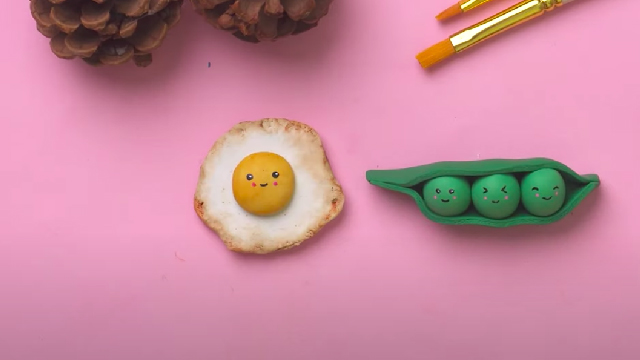
About this activity
Make colorful fridge magnets using craft foam, small magnets, glue, and decorations; design shapes, experiment with arrangements, and personalize your refrigerator.
What you need
Step by step
- 1
Step 1
Clear a flat workspace and lay the scrap paper down to keep the table clean.
- 2
Step 2
Look through the craft foam and decide which shapes or letters you want for your magnets.
- 3
Step 3
Use the pencil and ruler to draw each shape lightly on the craft foam.
- 4
Step 4
Cut out the foam shapes carefully with scissors.
- 5
Step 5
Color the foam shapes with your markers pens or crayons to make fun designs.
- 6
Step 6
Glue on stickers sequins buttons or beads to decorate the shapes.
- 7
Step 7
Let all the glue dry completely before touching the back of the shapes.
- 8
Step 8
Put a small drop of strong craft glue on the back of a foam shape and press a small disc magnet onto it until it sticks.
- 9
Step 9
Repeat gluing magnets onto all your foam shapes and let them dry fully.
- 10
Step 10
Arrange your new magnets on the refrigerator to test and play with different layouts.
- 11
Step 11
Share a photo of your finished fridge magnets and tell the story behind them on DIY.org
Fun facts
How do I make colorful fridge magnets with craft foam?
To make colorful fridge magnets, start by tracing shapes onto craft foam and cut them out with child-safe scissors. Decorate foam pieces with markers, stickers, sequins, or buttons. Glue a small flat magnet to the back using strong craft glue or a low-heat hot glue gun (adult use). Allow glue to dry fully on wax paper, then test on the fridge. Arrange magnets into patterns or group them by color or theme.
What materials do I need to make fridge magnets?
You'll need craft foam sheets, small flat magnets or magnet tape, a strong craft glue or hot glue gun (adult use recommended), child-safe scissors, permanent markers, stickers, googly eyes, sequins, and small embellishments. Also have wax paper or parchment to protect surfaces, a pencil for tracing, and optional clear sealer to make decorations last. Quantities depend on how many magnets you want to make.
What ages are fridge magnet crafts suitable for?
This craft suits children about 3 years and up with supervision. Ages 3–5 enjoy simple stick-on shapes and decorating, while 6–9 can cut foam, plan designs, and use stronger adhesives with adult help. Tweens and teens can create detailed scenes or layered magnets. Always supervise cutting and hot-glue use for younger children, and adapt complexity to each child's fine motor skills and attention span.
What are the benefits of making fridge magnets with kids?
Making fridge magnets boosts creativity, fine motor skills, and color recognition. It encourages planning and problem-solving when designing shapes and layouts, and offers a quick, satisfying project kids can finish in one session. Personalizing magnets builds confidence and family connection when displayed on the fridge. The activity is inexpensive and adaptable, turning scrap materials into keepsakes while teaching basic crafting techniques and patience.
Watch & Learn
Need help?
What can I use if I can't find craft foam or small disc magnets?
Use thick cardboard or felt cut the same way as craft foam and attach self-adhesive magnetic dots or magnetic sheet strips instead of the small disc magnets when you press a magnet onto the back.
Why are my magnets falling off after the glue dries and how do I fix it?
Follow the instruction to use a strong craft glue, press each small disc magnet firmly onto the back for about 30 seconds, and let the pieces cure undisturbed for several hours or up to 24 hours so the bond fully sets.
How can I adapt this activity for younger children or older kids?
For younger kids pre-cut the foam shapes, replace scissors and loose beads with stickers and self-adhesive magnets under supervision, and for older kids keep the pencil and ruler step to draw detailed shapes and add layered decorations like buttons or beads with strong craft glue.
How can we make the magnets more durable or personalized after decorating?
Seal marker designs with clear craft varnish or Mod Podge, create layered 3D effects with extra foam pieces, or glue photo cutouts under clear tape before attaching the small disc magnet on the back and then arrange and photograph them for DIY.org.