Create your best handmade #Bookmark
Design and decorate your own handmade bookmark using paper, markers, stickers, and ribbon; practice measuring, cutting, and creative styling for reading.
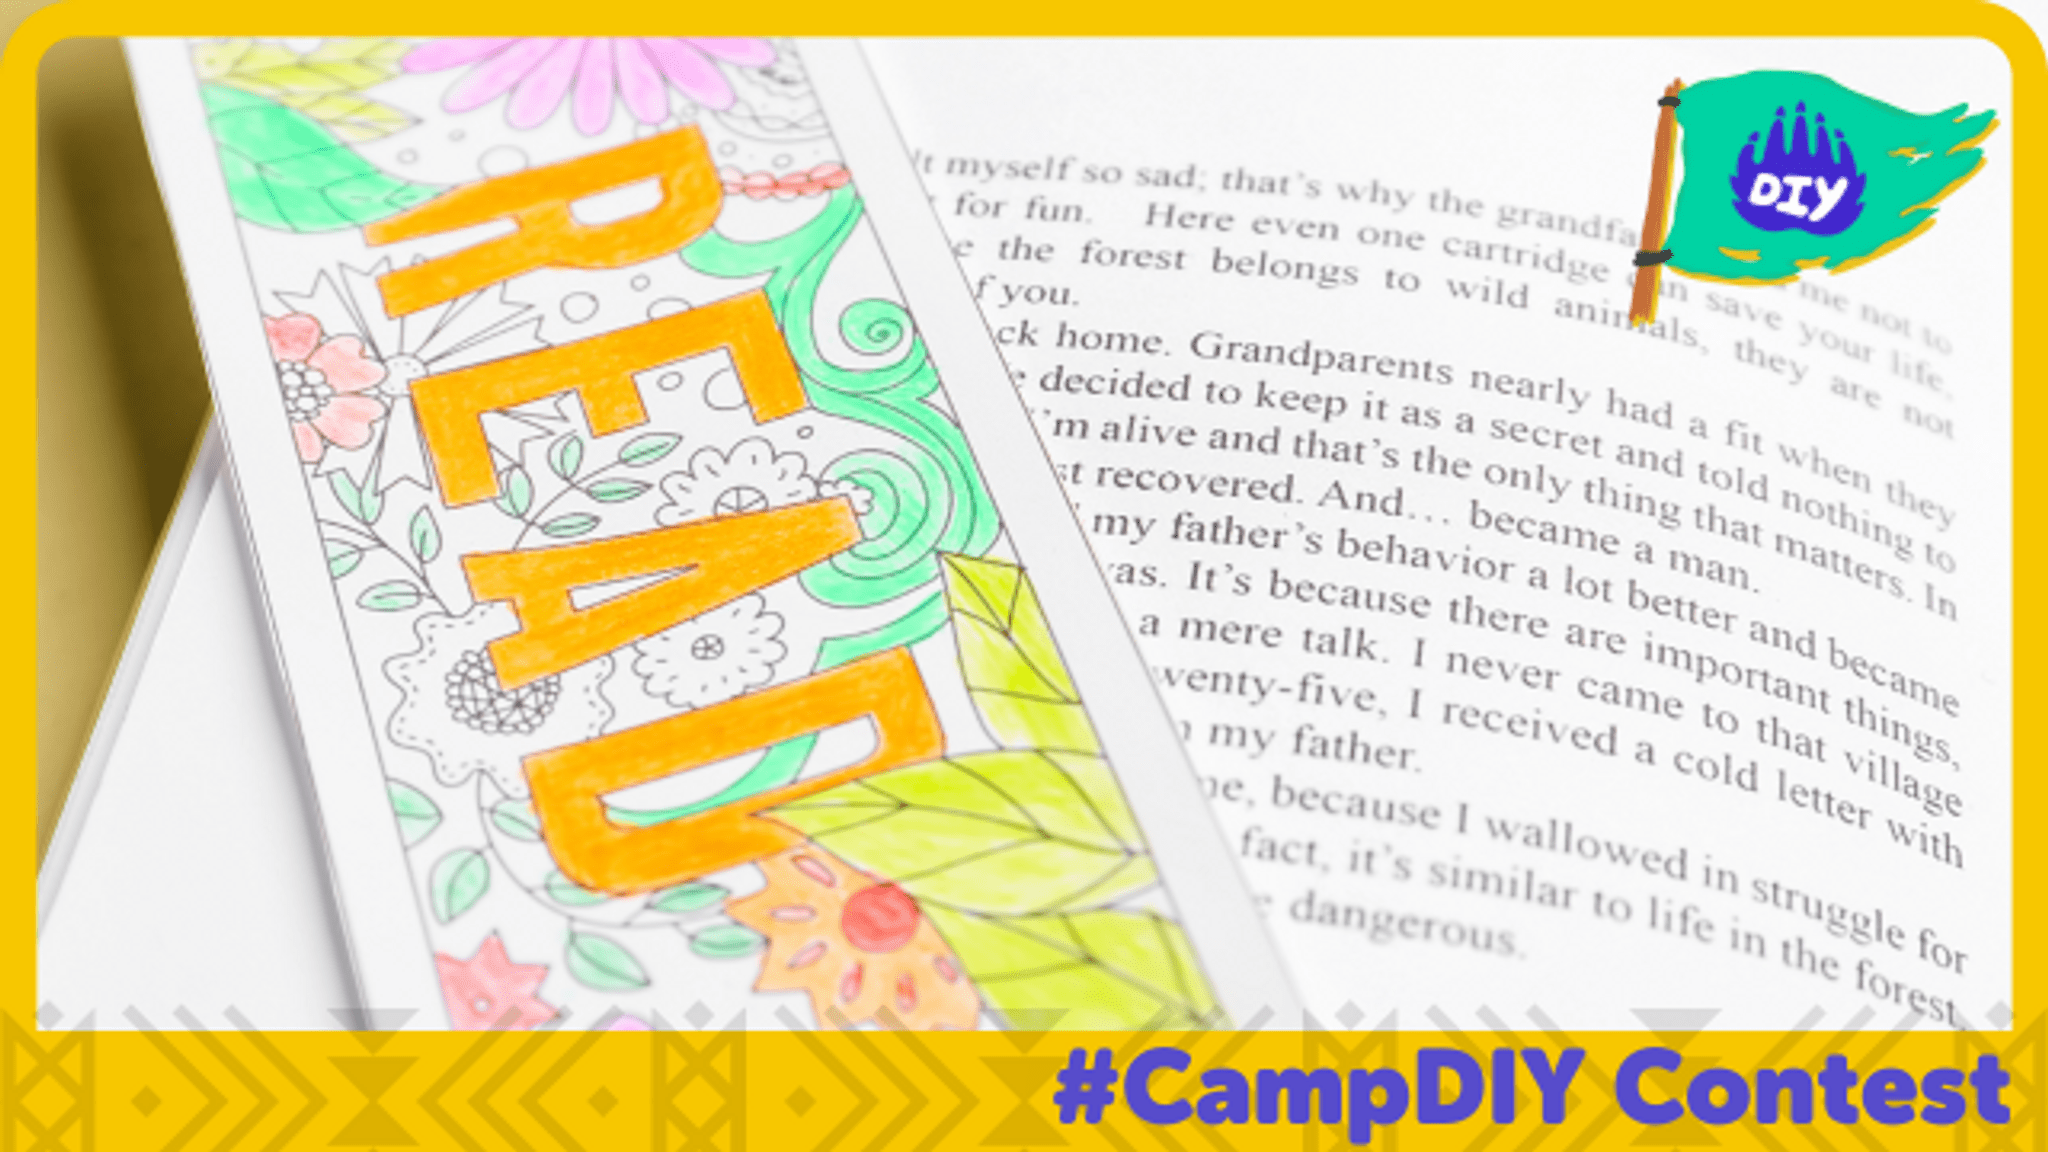
About this activity
Design and decorate your own handmade bookmark using paper, markers, stickers, and ribbon; practice measuring, cutting, and creative styling for reading.
What you need
Step by step
- 1
Step 1
Pick one sheet of paper or cardstock in a color or pattern you love.
- 2
Step 2
Use a ruler and pencil to measure and lightly mark a rectangle 15 cm long and 5 cm wide on your paper.
- 3
Step 3
Cut out the rectangle along your pencil lines with scissors.
- 4
Step 4
Round the corners by snipping a small curve from each corner or leave them square if you prefer.
- 5
Step 5
Choose a theme or pattern for your bookmark like animals stars or stripes.
- 6
Step 6
Use your colouring materials to draw and color the front of your bookmark with your chosen design.
- 7
Step 7
Add stickers or glue small paper shapes onto the bookmark to make it extra fun.
- 8
Step 8
If you have a hole punch punch one hole about 1 cm from the top center of the bookmark; if you do not have one skip to the next step.
- 9
Step 9
If you punched a hole thread a short piece of ribbon or yarn through the hole and tie a knot to make a tassel.
- 10
Step 10
If you did not punch a hole cut a short piece of ribbon or yarn and tape or glue it to the back top edge of the bookmark.
- 11
Step 11
Take a clear photo of your finished bookmark and share it on DIY.org.
Fun facts
How do I make a handmade bookmark for kids?
To make a handmade bookmark, start by measuring and marking a rectangle about 6 inches by 2 inches (15 × 5 cm) on cardstock. Cut along the lines, round corners if you like, then decorate with markers, stickers, stamps, or collage pieces. Add details like a favorite quote or name. Punch a hole at the top and thread ribbon or yarn. Optional: laminate or cover with clear tape for durability. Supervise cutting for young children.
What materials do I need to make a paper bookmark?
You’ll need sturdy paper or cardstock, ruler, pencil, scissors, colored markers or pencils, stickers, washi tape or decorative paper, glue or glue stick, hole punch, and ribbon or yarn. Optional extras: laminator or clear contact paper for durability, corner rounder, glitter, stamps, and scrap collage materials. For very young children, use safety scissors and supervise small items.
What ages is making a handmade bookmark suitable for?
This activity suits a wide range: toddlers (2–4) can join with adult help for sticking and choosing colors; preschoolers (4–6) can practice measuring and simple cutting with supervision; school-age kids (7–10) can design independently and try lettering or mixed media; tweens and teens can experiment with advanced techniques like hand-lettering, collage, or lamination. Adjust tools and supervision for skill level and safety.
What are the benefits of making a handmade bookmark?
Making bookmarks builds fine motor skills (measuring, cutting, gluing), encourages planning and design thinking, and boosts reading motivation by creating a personal reading accessory. It supports letter recognition if children add names or quotes and fosters self-expression and pride. Turn finished bookmarks into gifts or library rewards. For safety, avoid small embellishments for young children and supervise scissors and glue—consider lamination to make bookmarks last longer.
Watch & Learn
Need help?
Can I substitute other materials if I don't have cardstock or a hole punch?
If you don't have cardstock, glue two sheets of paper together or fold regular paper to make it sturdier, and use a clean toothpick or a paperclip to poke a hole about 1 cm from the top or simply tape the ribbon to the back as instructed.
My rectangle edges look uneven after cutting — how can I fix that or avoid problems when rounding corners or punching the hole?
To avoid uneven cuts and ripping when rounding corners or punching, re-measure with the ruler and lightly redraw straight pencil lines before cutting, trim edges against the ruler, and reinforce the punched area with a small piece of tape before threading ribbon.
How can I adapt this bookmark activity for younger or older kids?
For younger kids, have an adult pre-measure and cut the 15 cm × 5 cm rectangles and pre-punch the hole so they can color and stick shapes safely, while older kids can design more detailed themes, use ruler-measured patterns, and create tassels from multiple yarn strands.
What are some ways to enhance or personalize the finished bookmark before I take the photo to share on DIY.org?
Enhance your finished bookmark by adding glitter glue or a name with permanent marker, laminating the 15×5 cm rectangle for durability, or threading a bead onto the ribbon/yarn tassel for extra flair before taking a clear photo.