Create Halloween Wall Decor
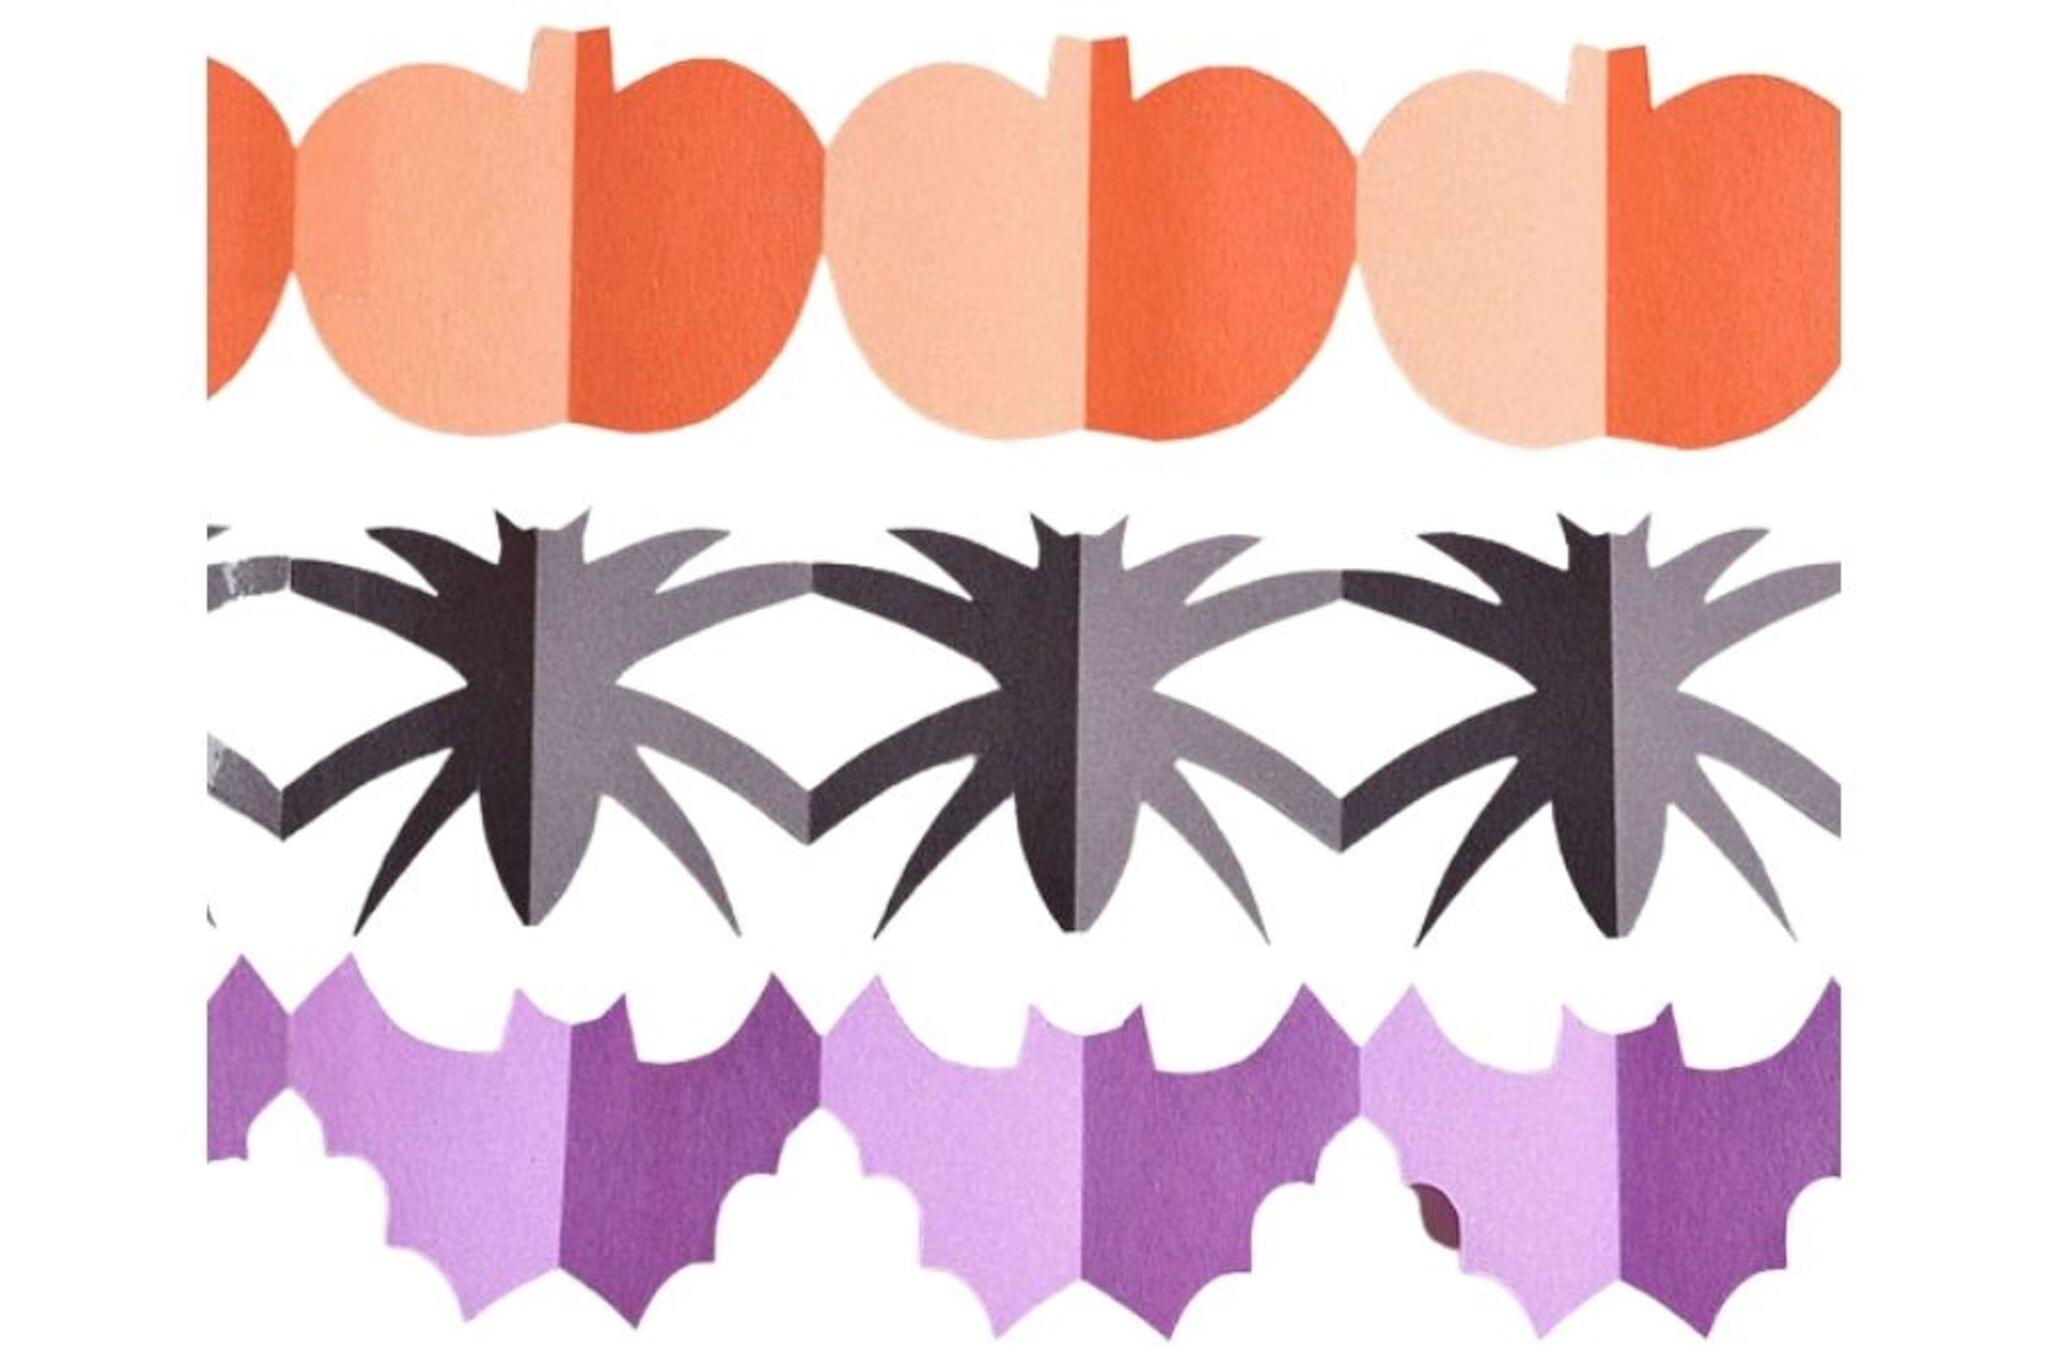
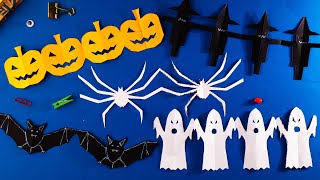
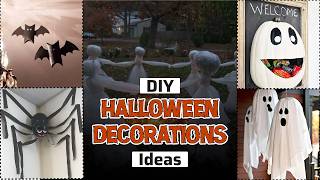
Make spooky Halloween wall decorations using construction paper, scissors, tape, and string; cut shapes like bats, ghosts, and pumpkins and arrange them creatively.


Step-by-step guide to create Halloween wall decor
More than 20 FUN HALLOWEEN CRAFTS FOR KIDS | DIY HALLOWEEN DECORATION IDEAS AT HOME
Step 1
Clear a flat workspace and lay out all Materials Needed so everything is easy to reach.
Step 2
Choose which shapes to make (bats ghosts pumpkins) and decide how many of each you want.
Step 3
Pick one sheet of construction paper and fold it in half so you can cut a mirrored shape.
Step 4
Draw the outline of a bat a ghost or a pumpkin along the folded edge with your pencil.
Step 5
Cut along the pencil line through both layers of paper while an adult watches or helps.
Step 6
Open the paper to reveal the shape and repeat Steps 3 to 5 with other sheets until you have the number of shapes you planned.
Step 7
Use the black marker to draw spooky faces and details on each paper shape.
Step 8
Cut the string into several different lengths so your decorations will hang at various heights.
Step 9
Tape one end of a string to the back center of each paper shape so it hangs straight.
Step 10
Tape the top ends of the strings to the wall or door at different heights and spacing to arrange your spooky display.
Step 11
Take a photo and share your finished Halloween wall decor on DIY.org.
Final steps
You're almost there! Complete all the steps, bring your creation to life, post it, and conquer the challenge!


Help!?
What can we use if we don't have construction paper or string?
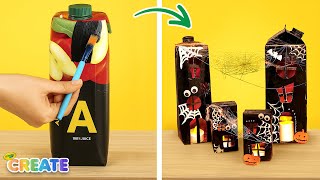
If you don't have construction paper, substitute plain printer paper, colored cardstock, or cereal-box cardboard for sturdier shapes, and use yarn, ribbon, or clear fishing line in place of the string called for in Step 8.
My shapes keep tearing or look uneven when I cut them—what should I do?
When following Steps 3–5, make a sharp crease on the fold, use age-appropriate sharp scissors with an adult's help, cut slowly along the pencil line, or trace and cut single layers to avoid tears and uneven edges.
How can I adapt this activity for younger or older children?
For preschoolers have an adult complete Steps 3–5 and let the child do Step 7 and help with Steps 8–10, while older kids can design detailed stencils, add layered shapes, or replace tape with a hole punch and knots for a more advanced hanging method.
How can we make the Halloween wall decor more creative or long-lasting?
After Step 7 personalize shapes with glitter glue, stickers, or glow-in-the-dark paint, reinforce each shape's back with extra cardstock before taping the string in Step 9, and consider arranging them into a cascading mobile and then taking the photo to share on DIY.org as in the final step.
Watch videos on how to make spooky Halloween wall decorations
Easy & Affordable Halloween Decorations with Paper - DIY Crafts for Kids & Adults 🎃👻🦇
4 Videos
Easy & Affordable Halloween Decorations with Paper - DIY Crafts for Kids & Adults 🎃👻🦇
Fun Halloween Crafts for Kids | Make Spooky Decorations & More!
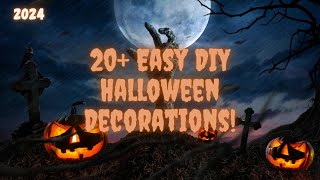
20+ Easy DIY Halloween Decorations You Can Make at Home!
200+ Best DIY Halloween Decorations Ideas and Crafts for Homemade Fun That Are Spooky & Easy
Facts about paper crafts for kids
🎃 The tradition of carving jack-o'-lanterns began in Ireland using turnips; pumpkins became popular after the custom moved to America!
👻 Ghost stories were part of Halloween traditions long before modern decorations — spooky tales go back centuries.
🦇 Bats are the only mammals able to truly fly and many species help by eating lots of insects each night.
✂️ Papercraft can make everything from tiny models to giant wall displays using simple tools like scissors, glue, and tape.
🕸️ DIY decorations can be budget-friendly and eco-friendly — you can upcycle scraps into spook-tacular wall art!
How do I make spooky Halloween wall decorations?
What materials do I need to make Halloween wall decor?
What ages is this Halloween wall decor activity suitable for?
What are the benefits, safety tips, and variations for making Halloween wall decorations?


