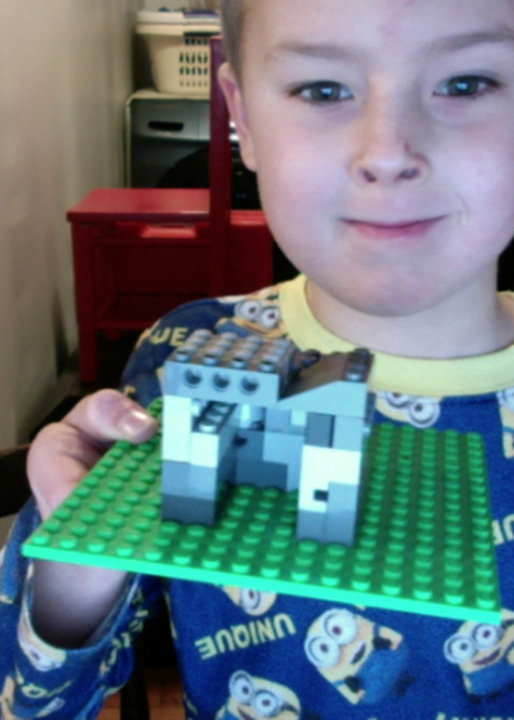
Create a stone building with LEGO®
Use LEGO bricks to design and build a small stone-style building, learning about texture, structure, and stability while experimenting with brick patterns.
About this activity
Use LEGO bricks to design and build a small stone-style building, learning about texture, structure, and stability while experimenting with brick patterns.
What you need
Step by step
- 1
Step 1
Clear a flat workspace and place your LEGO baseplate in the center.
- 2
Step 2
Gather a pile of LEGO bricks you want to use and put them next to the baseplate.
- 3
Step 3
Choose one or two main colors for your stone-style building.
- 4
Step 4
Use large bricks to build a rectangular foundation on the baseplate.
- 5
Step 5
Add a second layer of bricks while offsetting seams so joints do not line up.
- 6
Step 6
Keep stacking layers in the same staggered pattern until the walls reach the height you like.
- 7
Step 7
Leave a gap and snap a door or window piece into the opening in one wall.
- 8
Step 8
Swap some regular bricks for flat tiles or small plates to make textured "stone" patches.
- 9
Step 9
Strengthen each corner by adding extra bricks that overlap the corner joints.
- 10
Step 10
Create a roof by placing sloped bricks or overlapping plates on top of the walls.
- 11
Step 11
Gently press the top and sides to test stability and find any wobbly spots.
- 12
Step 12
Fix weak spots by adding supporting bricks inside or under the roof and then add decorative pieces.
- 13
Step 13
Share your finished stone building on DIY.org
Fun facts
How do I create a stone-style building with LEGO bricks?
Start with a baseplate and sketch the building’s footprint. Choose stone-like colors (grays, tans) and build up walls using a mix of bricks and plates. Stagger brick seams (running bond) for stability, add textured pieces (headlight bricks, tiles, slopes) to mimic stone, and insert window or door openings as you go. Reinforce corners with larger bricks, test stability, and adjust layers. Finish with roof details and small landscaping like steps or low walls.
What materials do I need to build a LEGO stone building?
You'll need a baseplate, a selection of LEGO bricks in stone-like colors (various grays, tans, browns), plates and tiles for layering, 1x1 and 1x2 bricks for texture, headlight bricks or grille tiles, slopes and arches for roof and windows, larger bricks for corner reinforcement, a door and window elements, a brick separator, and an optional minifigure or foliage pieces for landscaping.
What ages is this LEGO stone-building activity suitable for?
Suitable for ages 6 and up with small-brick LEGO sets. Younger children (around 4–5) can do simplified versions using DUPLO or large bricks with adult help. Supervision is recommended under age 6 because of small parts. Complexity can scale: basic walls for early elementary kids, patterned textures and stability testing for 8–12-year-olds, and advanced structural experiments for teens and parents working together.
What are the benefits, safety tips, and variations for LEGO stone builds?
Benefits include improving fine motor skills, spatial reasoning, patience, and early engineering concepts like load-bearing and stability. For safety, keep small pieces away from children under three, tidy build areas, and use a building mat to contain parts. Variations: design a ruined stone tower, a sturdy bridge, a castle keep, or experiment with alternating brick patterns and mortar-colored plates to mimic different stone textures.
Watch & Learn
Need help?
What can we use instead of a LEGO baseplate or a door/window piece if we don't have them?
Use a sturdy piece of cardboard or a plastic tray as the baseplate substitute and simply leave a brick-sized gap or snap a 1x2 plate or hinge piece into the opening to act as a door/window replacement.
My walls keep collapsing when I add the roof—what should I check and fix?
Make sure you followed the staggered seam method in step 5, strengthen each corner by adding extra overlapping bricks as described in step 8, and add supporting bricks inside or under the roof per step 11 before pressing to test stability in step 10.
How can I adapt this stone building activity for younger or older kids?
For younger children use larger Duplo or big bricks, build fewer layers on a tray and use already-made door pieces, while older kids can increase wall height, swap in many small plates for textured 'stone' patches (step 9), and add interior supports and decorative techniques from steps 8–12.
What are simple ways to extend or personalize the finished stone building before sharing it on DIY.org?
Add flat tiles or small plates in contrasting colors for textured 'stone' patches (step 9), make a removable roof section to reveal interior rooms, attach minifigure accessories or custom mosaics, and glue a paper landscape to the baseplate for presentation.