Create a spinning toy
Build a simple spinning toy using cardboard, a plastic straw, a toothpick or blunt skewer, and beads; decorate it and observe rotation.
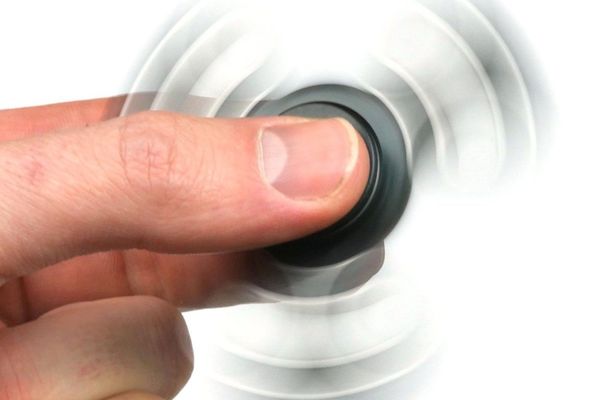
About this activity
Build a simple spinning toy using cardboard, a plastic straw, a toothpick or blunt skewer, and beads; decorate it and observe rotation.
What you need
Step by step
- 1
Step 1
Gather all materials and place them on a flat table where you can work.
- 2
Step 2
Put a round cup or lid on the cardboard and trace around it to make a circle.
- 3
Step 3
Cut out the cardboard circle with scissors.
- 4
Step 4
Decorate the cardboard circle with markers stickers or crayons to make it bright and fun.
- 5
Step 5
Fold the decorated circle in half and then fold it in half again to mark the center point.
- 6
Step 6
Carefully make a small hole at the center mark that is big enough for the toothpick to pass through.
- 7
Step 7
Cut a 3 centimeter piece from the plastic straw with scissors.
- 8
Step 8
Push the straw piece through the center hole so that about half sticks out above and half below the cardboard.
- 9
Step 9
Tape the straw flat to the top of the cardboard so it cannot slide out.
- 10
Step 10
Push the toothpick or blunt skewer through the straw so it can turn freely inside the straw.
- 11
Step 11
Slide beads onto the toothpick so there is one bead above and one bead below the cardboard to act as weights.
- 12
Step 12
Trim or snap off any toothpick ends that stick out too far so the spinner is safe to touch.
- 13
Step 13
Place your spinning toy on a smooth flat surface and give it a flick to watch it spin and wobble.
- 14
Step 14
Take a photo or write about your spinner and share your finished creation on DIY.org
Fun facts
How do I build a simple spinning toy with cardboard, a plastic straw, a toothpick, and beads?
To build the spinning toy, cut a cardboard circle or shape about 6–8 cm across. Push a plastic straw through the center to act as a sleeve and trim it flush. Thread a toothpick or blunt skewer through the straw, securing a bead on each side as spacers. Snap or trim the toothpick ends and balance the shape on the bead bearings. Decorate with markers or stickers, then blow or flick to observe rotation.
What materials and tools do I need to make a spinning toy at home?
You’ll need cardboard (from a cereal box), a washable marker or pencil to trace, scissors or a craft knife (adult use), a plastic straw trimmed to about 2–3 cm, a toothpick or blunt wooden skewer, small beads or washers as bearings, glue or tape, and decorations like stickers, markers, or paints. Optional items include a ruler and a hole punch to make neat centers.
What ages is this cardboard spinning toy suitable for?
This activity suits children aged about 4–10 with adult supervision. Ages 4–6 enjoy decorating and simple assembly with help cutting and handling small parts. Ages 7–10 can measure, cut shapes, and experiment with balance and bead placement independently. For younger toddlers, offer pre-cut shapes and larger beads; for older kids, encourage design experiments with different shapes and bearing placements to explore spin physics.
What are some safety tips and variations to try with this spinning toy?
Safety: supervise cutting and keep small beads and toothpicks away from children under 3 to avoid choking. Use blunt skewers or trim toothpicks so no sharp points stick out; secure ends with tape. Work on a stable surface and wear safety glasses when using a craft knife. Variations: try different cardboard shapes, add more beads for smoother spin, swap a metal washer for lower friction, or use colored transparent film for spinning color effects.
Watch & Learn
Need help?
If I don't have a plastic straw, toothpick, or small beads, what can I use instead?
Use a 3 cm piece of a smooth wooden skewer or pen refill for the plastic straw, a blunt skewer or short pencil stub instead of the toothpick, and buttons, washers, or small rolled-up modeling clay balls for the beads when you push the straw through the center hole and slide weights onto the axle.
My straw keeps slipping out or the toothpick doesn't spin freely — what should I do?
Make the center hole slightly smaller, firmly tape the straw flat to the top of the cardboard as the instructions say so it cannot slide out, and sand or widen the straw end a little so the toothpick can turn freely inside without binding.
How can I adapt this spinner activity for different ages?
For preschoolers pre-cut the cardboard circle and have an adult make the center hole and insert the straw while kids do the decorating, for elementary kids let them cut, fold, and assemble with supervision, and for older kids challenge them to add layers, balance multiple beads, or experiment with different cup sizes for larger circles.
How can we enhance or personalize the spinner after finishing?
Personalize the cardboard circle by drawing bright, high-contrast patterns or adding stickers during the decorate step, glue on a second layer to change weight and wobble, or attach extra beads to experiment with spin speed and then take a photo to share on DIY.org.