Create a Minecraft character using LEGO®
Design and build a Minecraft character from LEGO bricks, using a simple pixel-grid plan, counting studs, choosing colors, and customizing features safely.


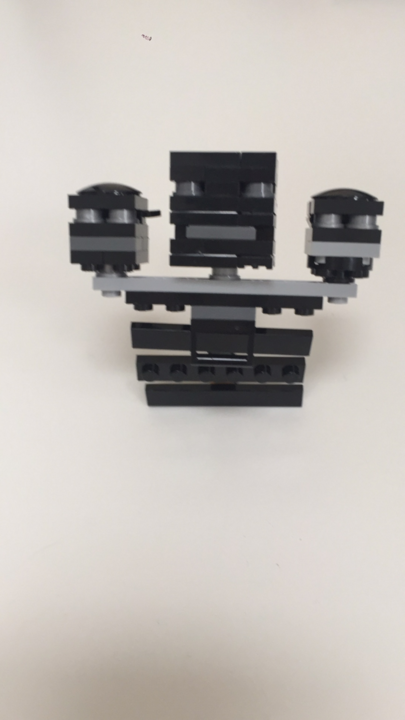

Step-by-step guide to create a Minecraft character using LEGO®
How do you build mini lego minecraft characters (simple and easy Tutorial)
Step 1
Choose a Minecraft character to copy or invent.
Step 2
Decide how many studs wide and tall your character will be and write those numbers on your paper.
Step 3
Draw a pixel grid on your graph paper using the size you chose.
Step 4
Color each square on the grid to plan the character's colors.
Step 5
Count how many studs of each color you will need and write a short list.
Step 6
Gather the LEGO bricks that match the colors and quantities on your list.
Step 7
Place the baseplate flat on your workspace.
Step 8
Build the bottom row of studs on the baseplate following your colored grid.
Step 9
Add rows above the bottom row one at a time to match each row on your grid until the body is complete.
Step 10
Stack bricks to build the head using the colors from your plan.
Step 11
Attach the arms to the sides of the body using plates or hinge pieces if you have them.
Step 12
Add small bricks or flat tiles for facial details like eyes and mouth.
Step 13
Build and attach accessories like a hat or tool to your character.
Step 14
Press all bricks down firmly so the figure is stable and secure.
Step 15
Share your finished creation on DIY.org.
Help!?
What can we use if we don't have a LEGO baseplate, hinge pieces, or enough colored bricks?
Use a piece of cardboard or foam board with a drawn stud grid instead of a baseplate, stack plates or use tape to mimic hinge pieces for attaching arms, and substitute colored paper squares, stickers, or painted plates for missing colored bricks or flat tiles.
My character keeps falling over or the arms keep detaching—how do we fix that?
Press all bricks down firmly as step 14 directs, widen or reinforce the bottom row on the baseplate, add extra plates under the body for stability, and secure arms with plates or hinge pieces from step 11 to prevent detachment.
How can we adapt this activity for younger or older kids?
For younger children use larger DUPLO bricks, a smaller stud grid and pre-drawn color plans from the 'draw a pixel grid' step, while older builders can increase studs for finer detail, add hinge joints, and design more complex accessories and facial tiles.
How can we make the Minecraft character more creative or advanced?
Expand the project by building a multi-character scene on the baseplate, crafting accessories like the hat or tool in step 13, adding poseable arms with hinge pieces, using flat tiles for detailed faces, or embedding tiny LEDs for glow effects before sharing on DIY.org.
Watch videos on how to create a Minecraft character using LEGO®
LEGO Minecraft Creaking tutorial!
4 Videos
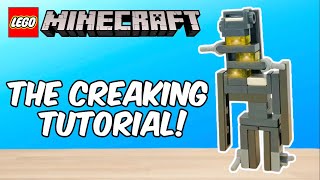
LEGO Minecraft Creaking tutorial!
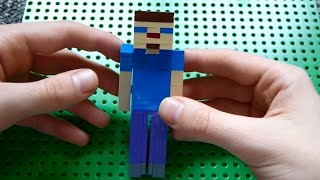
How to Build: Lego Minecraft Steve
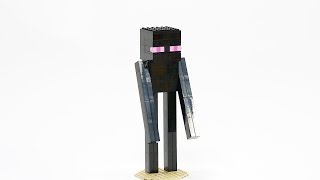
How to Build a Minecraft Enderman with LEGO®️ Bricks tutorial
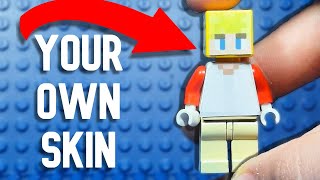
How to make a CUSTOM Lego Minecraft MINIFIGURE
Facts about LEGO building and pixel art
🧱 LEGO bricks made in 1958 still fit today's bricks — decades of compatibility means you can mix old and new pieces!
🎮 Minecraft is the best‑selling video game ever, with over 200 million copies sold worldwide — lots of fans to inspire your character!
💥 The Creeper's odd shape came from a coding mistake while making a pig, and now it's one of Minecraft's most famous characters!
🔲 Designing on a pixel grid lets you treat each LEGO stud as one 'pixel' so counting studs recreates Minecraft's blocky style perfectly!
🔧 Use a brick separator and adult supervision for tiny parts — they're safer and make customizing faster and more fun!
How do I design and build a Minecraft character from LEGO bricks?
What materials do I need to create a LEGO Minecraft character?
What ages is this LEGO Minecraft activity suitable for?
What are the benefits, safety tips, and variations for a LEGO Minecraft build?
