Collect material for creating your comic
Collect materials and ideas to create your own comic: gather paper, pencils, markers, sticky notes, character sketches, and simple storyboard panels before drawing.


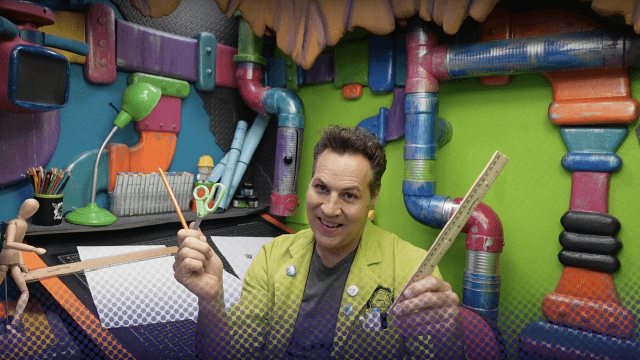

Step-by-step guide to collect materials to create your comic
Step 1
Pick a clean flat spot to be your comic workspace.
Step 2
Put a stack of blank paper on your workspace.
Step 3
Place your pencils and eraser next to the paper.
Step 4
Put markers and colouring materials within easy reach.
Step 5
Put a pad of sticky notes and a pen on the workspace.
Step 6
Take a sheet of scrap paper and draw one quick character sketch.
Step 7
Take another scrap sheet and draw three simple storyboard panel boxes.
Step 8
Write your main idea or one-sentence story on a sticky note.
Step 9
Arrange your character sketches next to your storyboard panels so you can see them while you draw.
Step 10
Share your finished creation on DIY.org.
Help!?
What can I use if I don't have markers or sticky notes?
If markers are missing, use colored pencils or crayons for the 'Put markers and colouring materials within easy reach' step, and if you don't have a pad of sticky notes for 'Write your main idea...' use a small folded scrap of paper or an index card placed next to your storyboard.
My storyboard panels look uneven or messy—how do I fix the 'three simple storyboard panel boxes' step?
Use a ruler or the straight edge of a book to draw the three simple storyboard panel boxes on your scrap sheet, sharpen your pencil from the pencil pile, and clean up stray marks with the eraser next to the paper so the panels look neat.
How can I adapt this activity for different ages?
For younger children simplify the task to two large panels and help them with a quick character sketch using stickers or traced shapes, while older kids can draw more panels, create detailed character sheets on extra scrap paper, and use fine-tip markers for coloring.
How can we extend or personalize the finished comic beyond sharing on DIY.org?
Personalize by adding backgrounds and speech bubbles on sticky notes before inking, numbering pages to make a short series, and scanning or photographing each page to create a digital slideshow to share on DIY.org.
Watch videos on how to collect materials to create your comic
How To Make A Mini-Comic with One Sheet Of Paper
4 Videos
How To Make A Mini-Comic with One Sheet Of Paper
How to Make a Comic Book
How to Create a Comic Strip
5 Tips For Making Comics
Facts about comic creation for kids
🎬 Storyboards were developed at Walt Disney Studios in the 1930s to plan animated films scene-by-scene.
🗒️ Post-it notes were invented by Spencer Silver and Art Fry at 3M in the 1970s and are great for moving and rearranging ideas.
✏️ Comic artists usually start with tiny pencil thumbnails—rough mini-sketches—to plan panel flow before drawing full pages.
🦸 Superman first appeared in Action Comics #1 in 1938, a landmark that helped launch the superhero era in comics.
🖊️ Many comic creators pencil their pages first, then ink over them with pens or brushes to create bold, printable lines.
How do I collect materials and plan my own comic?
What materials do I need to create my own comic?
What ages is this activity suitable for?
What are the benefits of collecting materials and planning before drawing a comic?
