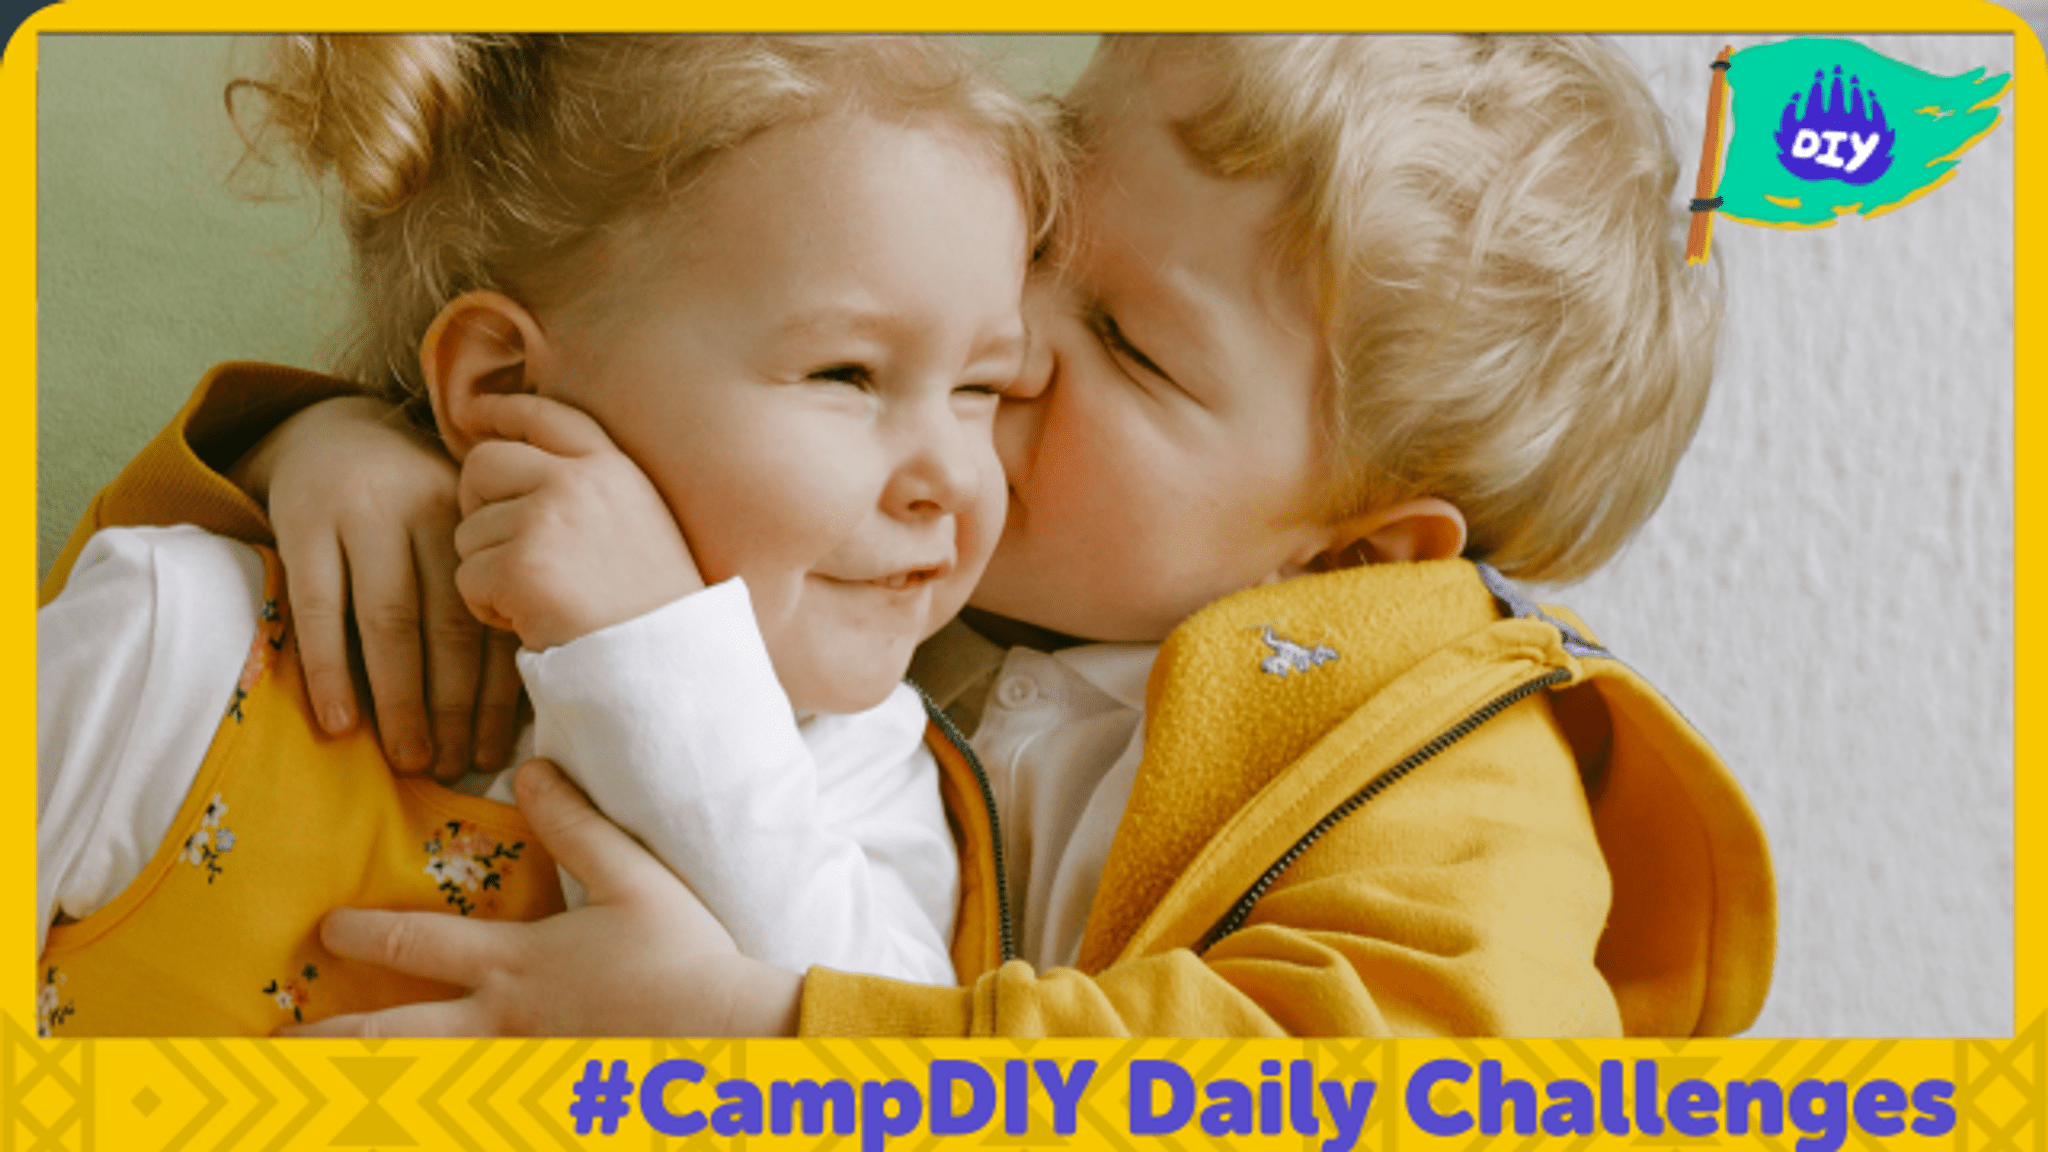
#Camp DIY Day 8 Daily Challenge: Share a Picture with your Sibling!
Create a handmade picture or take a photo, decorate it with color or stickers, then share it with your sibling and write a short note.
About this activity
Create a handmade picture or take a photo, decorate it with color or stickers, then share it with your sibling and write a short note.
What you need
Step by step
- 1
Step 1
Gather your materials and put them on a clean table so everything is ready.
- 2
Step 2
Decide if you will make a handmade picture OR take a photo to decorate.
- 3
Step 3
Make or prepare a flat picture by drawing or painting on paper OR by taking a photo and getting a printed copy or pasting the photo on paper with an adult’s help.
- 4
Step 4
Use your coloring materials to add bright colors and fun shapes to your picture.
- 5
Step 5
Stick stickers onto your picture to add sparkle or silliness.
- 6
Step 6
Write a short note to your sibling on the back of the picture or on a small separate paper.
- 7
Step 7
Attach your note to the picture by taping it on the back or sliding both into an envelope.
- 8
Step 8
Decide how you will give the picture to your sibling: hand it to them or ask a grown-up to help send a photo of it.
- 9
Step 9
Give or send your decorated picture and note to your sibling so they can enjoy it.
- 10
Step 10
Take a photo of your finished creation and share it on DIY.org.
Fun facts
How do I complete the Camp DIY Day 8 Daily Challenge: Share a Picture with your Sibling?
To complete the Camp DIY Day 8 challenge, start by choosing a photo or making a handmade picture—draw, paint, or collage. Decorate with markers, stickers, or digital filters. Write a short, kind note on the back or as a caption. Decide how to share: hand it over, leave it on their pillow, mail it, or send a photo message. Finish by asking them to hang or save it so they can enjoy your work.
What materials do I need for the Share a Picture with your Sibling challenge?
You'll need basic craft supplies: paper or cardstock, crayons, markers, paints, stickers, glue, and scissors. Optional extras: colored paper, magazine clippings for collages, washi tape, ribbons, glitter (use sparingly), or a camera/phone for taking photos. For younger kids, use safety scissors and non-toxic materials. If sending digitally, you may want a scanner or a smartphone and photo-editing apps. Keep materials organized in a tray to avoid frustration.
What ages is the Camp DIY Day 8 'Share a Picture with your Sibling' activity suitable for?
Suitable for ages 3–12, with adult help for younger children. Toddlers (3–5) can stick stickers and scribble with supervision; preschoolers (4–6) can color and add stickers with cutting help. Elementary kids (6–10) can create handmade pictures, write short notes, or decorate photos. Tweens (11–12+) can design more detailed cards or digital edits. Adapt complexity and safety (scissors, small pieces) based on each child's fine motor skills and attention span.
What are the benefits and safety tips for the Share a Picture with your Sibling challenge?
Benefits include strengthening sibling bonds, practicing writing and empathy, and boosting creativity and fine motor skills. Safety tips: supervise scissors and small stickers for young children, use non-toxic materials, and get permission before sharing photos online. Variations: make a folded card, create a shared photo collage, record a short video message, or set up a mini gallery where siblings display and swap artwork. Encourage positive notes and compliments.
Watch & Learn
Need help?
What can I use if I don't have paint, stickers, or a printer?
If you don’t have paint, stickers, or a printer, draw bright shapes with markers or crayons, use magazine cutouts glued on as 'stickers', and paste a phone photo onto paper with glue instead of printing.
My paint makes the paper wrinkly or my photo won't stay stuck — what should I do?
If paint wrinkles the paper or a photo won't stick while you prepare a flat picture, let paint dry flat under a clean book, use heavier paper or cardstock, and secure photos with a glue stick or clear tape on the back before decorating.
How can the activity be changed for younger or older kids?
For toddlers, have an adult pre-cut paper, hand them crayons and help tape the note, while older kids can take and edit a photo, add collage elements, or write a longer note before sharing on DIY.org.
How can we make the picture extra special or keep it longer?
To personalize and preserve your finished creation, add a decorated envelope or simple frame, laminate or use clear packing tape over the front for protection, or turn it into a small booklet by stapling multiple decorated pages and then photograph the result to post on DIY.org.