Build something super tall with popsicle sticks
Build a super-tall popsicle-stick tower using glue, tape, and basic engineering ideas, testing different base shapes and measuring how high it stands.


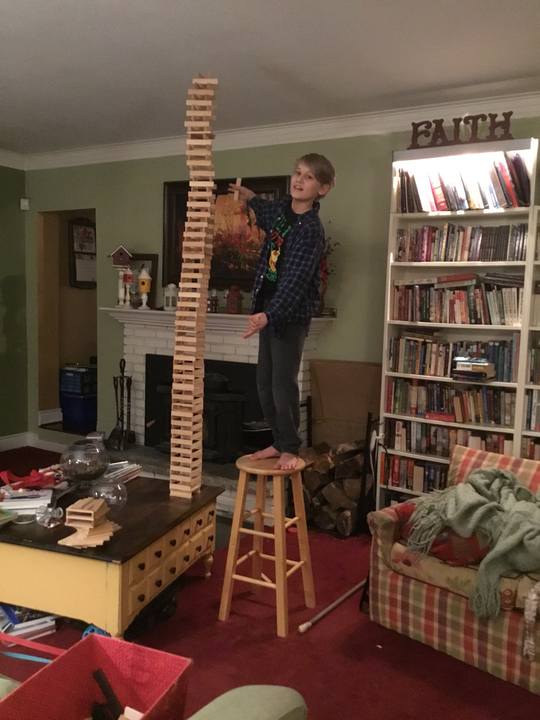

Step-by-step guide to build a super-tall popsicle-stick tower
WHAT Can I Build With LEGO CANDY...?
Step 1
Gather all Materials Needed and clear a flat workspace.
Step 2
Choose one base shape to try first such as a triangle square or rectangle.
Step 3
Draw the chosen shape on the scrap cardboard using the pencil and ruler.
Step 4
Cut out the cardboard base with the scissors.
Step 5
Build three support columns by gluing four popsicle sticks end to end for each column.
Step 6
Let the glued columns dry until they feel firm to the touch.
Step 7
Stand the three dry columns upright on the cardboard base and tape each column down at equal distances.
Step 8
Glue popsicle sticks across the tops of the columns to make a ring of horizontal cross beams and let the glue dry.
Step 9
Add more column sections and more rings by repeating Steps 5 through 8 to grow the tower taller.
Step 10
Measure the height of your tower from the cardboard base to the highest point using the ruler and write the number down.
Step 11
Gently tap near the top of the tower to test stability and watch how much it wobbles.
Step 12
Share a photo and a short description of your finished super-tall popsicle-stick tower on DIY.org
Help!?
What can we use if we don't have popsicle sticks or white glue?
Use wooden coffee stirrers or craft sticks in place of popsicle sticks and swap white glue for hot glue or strong double-sided tape when making the four-stick columns in Step 5.
My columns bend or the tower wobbles a lot—how can I fix that?
Make sure each glued column from Step 5 is fully dry and firm as directed in Step 6, space the three columns evenly and tape them securely to the cardboard base in Step 7, and add extra rings of cross beams from Step 8 to stiffen the structure before testing in Step 10.
How can I adapt this activity for different ages?
For younger children simplify by pre-cutting the cardboard base and pre-gluing column sections from Step 5, while older kids can try more columns, taller repeated sections from Step 8, and precise height measurements in Step 9 as a mini engineering challenge.
How can we extend or personalize our super-tall popsicle-stick tower?
Decorate or label the cardboard base you drew in Step 3, experiment with different base shapes to improve stability, add triangular bracing between columns when building additional rings in Step 8, and share your finished design and height from Step 9 on DIY.org as suggested in Step 12.
Watch videos on how to build a super-tall popsicle-stick tower
Building a LEGO Hinging Square
4 Videos
Building a LEGO Hinging Square

A kaleidoscopic LEGO build

Kids Build with a LEGO Expert | HiHo Kids

5 DIY fidget toys pop it How to make pop it
Facts about structural engineering for kids
🏗️ Triangles are engineering superheroes — triangle-shaped trusses make towers much stronger than plain squares.
📐 A wider base helps a tower stand taller without toppling — that’s why pyramids are so stable!
🧲 Glue creates stiffer, stronger joints than tape, but tape is great for quick prototypes and adjustments.
📏 Small measurement errors add up: measuring as you build keeps your tower straight and helps you go higher.
🧪 Trying different base shapes (triangle, square, hexagon) is a fun mini-experiment in balance and center of gravity.
How do I build a super-tall popsicle-stick tower?
What materials do I need to build a popsicle-stick tower?
What ages is this popsicle-stick tower activity suitable for?
What are the benefits, safety tips, and variations for building popsicle-stick towers?
