Build an electric vehicle
Build a small battery powered model electric car using a motor, wheels, and recycled materials to learn circuits, propulsion, and simple design principles.
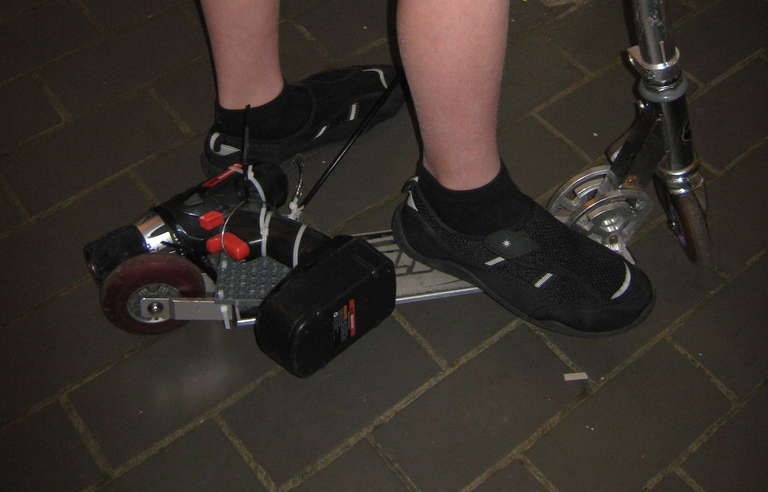
About this activity
Build a small battery powered model electric car using a motor, wheels, and recycled materials to learn circuits, propulsion, and simple design principles.
What you need
Step by step
- 1
Step 1
Gather all materials and place them on a clear table so you can reach everything easily.
- 2
Step 2
Cut a rectangle of cardboard about the size of your hand to make the car chassis.
- 3
Step 3
Cut two straws or wooden skewers a little wider than the chassis to act as axles.
- 4
Step 4
Make a centered hole in each bottle cap by pushing a pencil through so the cap can spin on an axle.
- 5
Step 5
Thread two bottle caps onto each axle leaving a little space so the caps can spin freely.
- 6
Step 6
Tape two straws under the chassis across the width to create supports for the axles.
- 7
Step 7
Slide the axles with wheels into the taped straws so the wheels spin freely under the chassis.
- 8
Step 8
Put a small drop of hot glue on the motor shaft and form a tiny knob to act as a pulley then let the glue cool.
- 9
Step 9
Loop a rubber band around the motor shaft pulley and around one wheel on the rear axle to make a belt drive.
- 10
Step 10
Tape or glue the motor to the chassis so the motor pulley lines up with the rear axle pulley.
- 11
Step 11
Attach the motor wires to the battery holder wires using clips or tape to complete the circuit connection.
- 12
Step 12
Insert the two AA batteries into the battery holder to power the motor.
- 13
Step 13
Place the car on the floor and let the motor run briefly to check that the belt turns the rear wheels.
- 14
Step 14
Adjust the wheel spacing or belt position until the car rolls straight and secure any loose parts with tape.
- 15
Step 15
Share your finished electric car on DIY.org.
Fun facts
How do you build a small battery-powered model electric car?
Begin with a sturdy chassis from cardboard, foam board, or recycled plastic. Mount a small DC motor so its shaft drives an axle or gear—secure with glue or tape. Attach wheels to axles and make sure they rotate freely. Connect the battery holder to the motor using wires and add a simple on/off switch (battery positive to switch, then to motor). Test, balance weight, and adjust wheel alignment. Adult supervision is recommended for wiring and hot glue use.
What materials do I need to build a model electric car?
You’ll need a small DC motor (3–6V), wheels (toy wheels, bottle caps, or plastic discs), axles (wooden dowels or skewers), a battery holder with batteries (AA or a 9V connector), hookup wires, and a simple on/off switch. Also gather recycled materials for the chassis (cardboard, plastic containers), tape, glue or hot glue, and basic tools (wire stripper, small screwdriver). Optional: gears, rubber bands, and motor mounts.
What ages is building a battery-powered model car suitable for?
This activity suits a wide range: ages 6–8 with close adult help for cutting, wiring, and gluing; ages 9–12 can complete most steps independently with supervision for tool use; teens can experiment with gearing and design optimizations. Preschoolers can join for simple tasks like decorating. Adjust complexity—younger kids focus on assembly and testing, older kids explore circuits, gearing, and troubleshooting.
What are the benefits of building a small battery-powered model car?
Building a model electric car teaches basic circuits, propulsion, and simple engineering through hands-on learning. Kids develop problem-solving, planning, and fine motor skills while experimenting with balance, friction, and gearing. Using recycled materials encourages resourcefulness and sustainability awareness. The iterative testing process builds resilience and curiosity, making it a fun STEM introduction that sparks interest in science, technology, and creative design.
Watch & Learn
Need help?
What can I use if I can't find the small DC motor or a battery holder called for in the instructions?
If you don't have the small DC motor or battery holder, salvage a motor and battery clip from an old toy or use a toothbrush vibration motor and tape two AA batteries together with wires as a simple battery holder, then follow the steps to glue a pulley and attach the rubber-band drive.
My wheels won't spin freely after I slide the axles in—what should I check or fix?
If the bottle-cap wheels don't spin, check that the pencil-made holes in the caps aren't too tight and that the taped straws under the chassis aren't squeezing the axles—widen the cap holes slightly, add a thin spacer on the axle, or loosen the straw supports so the wheels have the small free space described in the instructions.
How can I adapt this electric car build for younger or older kids?
For younger children, pre-cut the cardboard chassis and straws, pre-thread the bottle-cap wheels, and let them tape the motor and snap in batteries with supervision, while older kids can upgrade by adding a switch to the battery holder, using balsa wood for a sturdier chassis, or designing a gear train instead of the rubber-band belt following the same alignment steps.
What are some ways to extend or personalize the finished car beyond the basic build?
You can personalize and improve the car by painting the cardboard chassis, gluing on lightweight decorations, adding LED headlights wired to the battery holder with a resistor, or installing a second motor for more power while rechecking belt alignment and wheel spacing before sharing on DIY.org.