Build a public parklet
Design and build a small model public parklet using cardboard, mini-plants, seating, and decorations; plan layout, measure, and present ideas to others.
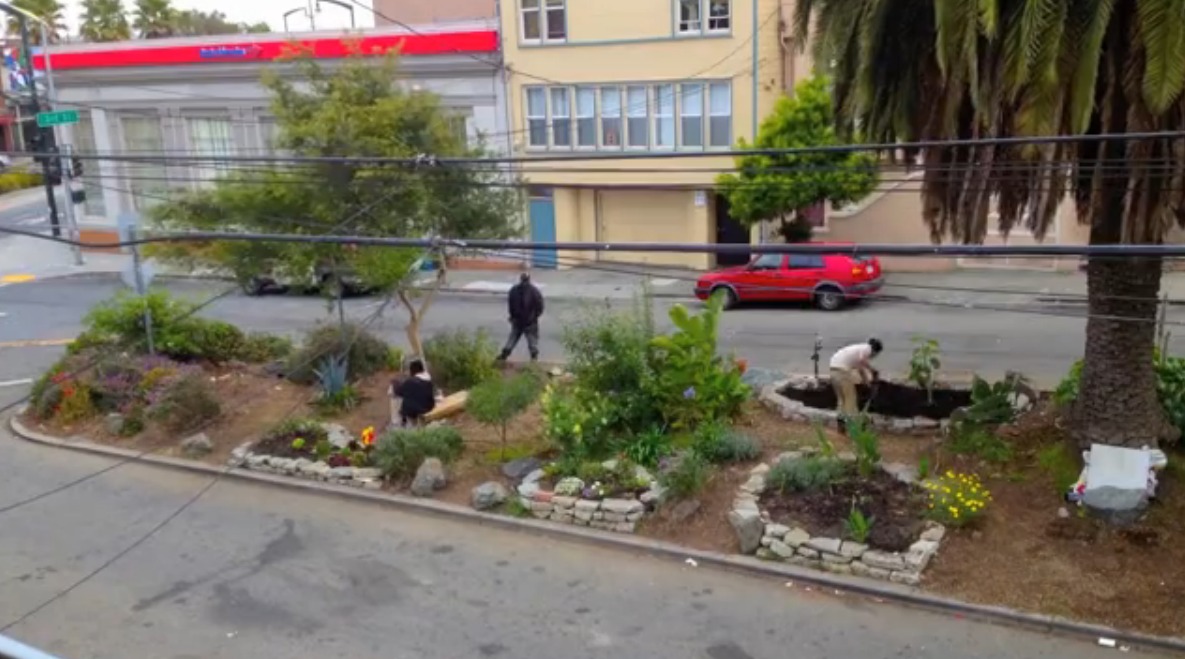
About this activity
Design and build a small model public parklet using cardboard, mini-plants, seating, and decorations; plan layout, measure, and present ideas to others.
What you need
Step by step
- 1
Step 1
Spread your materials out on a flat table so everything is easy to reach.
- 2
Step 2
Pick how big you want your parklet to be by choosing a length and a width.
- 3
Step 3
Measure and mark the rectangle footprint of your parklet on the cardboard using the ruler and pencil.
- 4
Step 4
Cut out the cardboard base along your marks using safety scissors or ask an adult to use the craft knife.
- 5
Step 5
Draw where you want benches planters and a path on the base so you can see the layout.
- 6
Step 6
Measure and cut small pieces of cardboard or popsicle sticks to make benches and planter boxes.
- 7
Step 7
Glue or tape the bench and planter pieces together to build each tiny furniture item.
- 8
Step 8
Attach the finished benches and planters to the cardboard base so they stay in place.
- 9
Step 9
Put your mini-plants into the planters and secure them with a bit of tape or extra cardboard supports.
- 10
Step 10
Decorate the parklet with colouring stickers signs and decorative paper to make it look inviting.
- 11
Step 11
Practice a short presentation describing three features of your parklet and who would use them.
- 12
Step 12
Share a photo and your presentation about the finished parklet on DIY.org
Fun facts
How do you design and build a small model public parklet?
Start by talking about what a parklet is and sketching a layout on paper. Measure a small base (cardboard or foam board) and draw where seating, plants, and paths will go. Cut and glue cardboard pieces to build raised beds, benches, and walkways. Add mini-plants (real or craft), paint, and small decorations. Finally, create a short presentation describing your design choices and measurements to share with family or classmates.
What materials are needed to build a parklet model?
You'll need a sturdy base (large cardboard or foam board), spare cardboard, ruler, pencil, scissors or craft knife (for adult use), glue or hot glue gun, paints and markers, small plants or faux greenery, floral foam or soil, toothpicks or dowels for details, scrap fabric or paper for awnings, and small objects for decorations. Optional: recycled plastic containers, model figures, and sand for texture. Use child-safe tools and recycled materials where possible.
What ages is this parklet activity suitable for?
This activity fits ages 6–14 with adaptations: ages 6–8 can sketch, measure with help, and glue pre-cut pieces while adults handle cutting; ages 9–11 can plan layout, measure, and assemble with supervision for craft knives or hot glue; ages 12–14 can lead design, precise measuring, and presentations. Adjust tools and complexity, and always supervise younger children when using sharp tools, hot glue, or real soil.
What are the benefits and safety tips for making a parklet model?
Building a parklet model teaches planning, measuring, problem-solving, teamwork, and environmental awareness. Kids practice fine motor skills, scale thinking, and public-space empathy. Safety tips: supervise cutting and hot glue, use child-safe scissors and non-toxic paints, keep small parts away from toddlers, and wash hands after handling soil or plants. Variation: create seasonal themes, use recycled materials, or design a community proposal poster to present ideas to adults.
Watch & Learn
Need help?
What can we use if we don't have a craft knife or real mini-plants for the parklet?
If you don't have a craft knife use strong safety scissors or score the cardboard with a nail and fold along your pencil marks, and if mini-plants aren't available make foliage from green tissue paper, pom‑poms, or torn construction paper to tuck into the planter boxes and secure with tape.
My benches or planter boxes won't stay attached to the cardboard base—how can we fix that?
If pieces won't stay when you 'attach the finished benches and planters to the cardboard base,' reinforce them with hot glue or double-sided tape and add small cardboard support tabs under each bench or planter for extra stability.
How should we change the steps for younger kids or make it more challenging for older kids?
For younger children skip the 'measure and cut' steps by providing a pre-cut cardboard base, larger popsicle sticks, glue sticks and stickers to assemble, while older kids should follow the 'measure and mark' and 'measure and cut small pieces' steps precisely, use a craft knife with adult supervision, and add paint or scale detailing.
What are easy ways to improve or personalize the parklet after building it?
To extend the project beyond 'decorate the parklet' and 'practice a short presentation,' make furniture removable to try different layouts, add a textured path with glued sand or gravel over painted paper, install tiny solar LED lights along the path, and create custom signs showing who would use each feature for your photo and presentation.