Build a creature with cardboard
Make a cardboard creature from recycled boxes using safety scissors, glue, and paint. Add movable limbs, decorate creatively, and explore basic engineering.


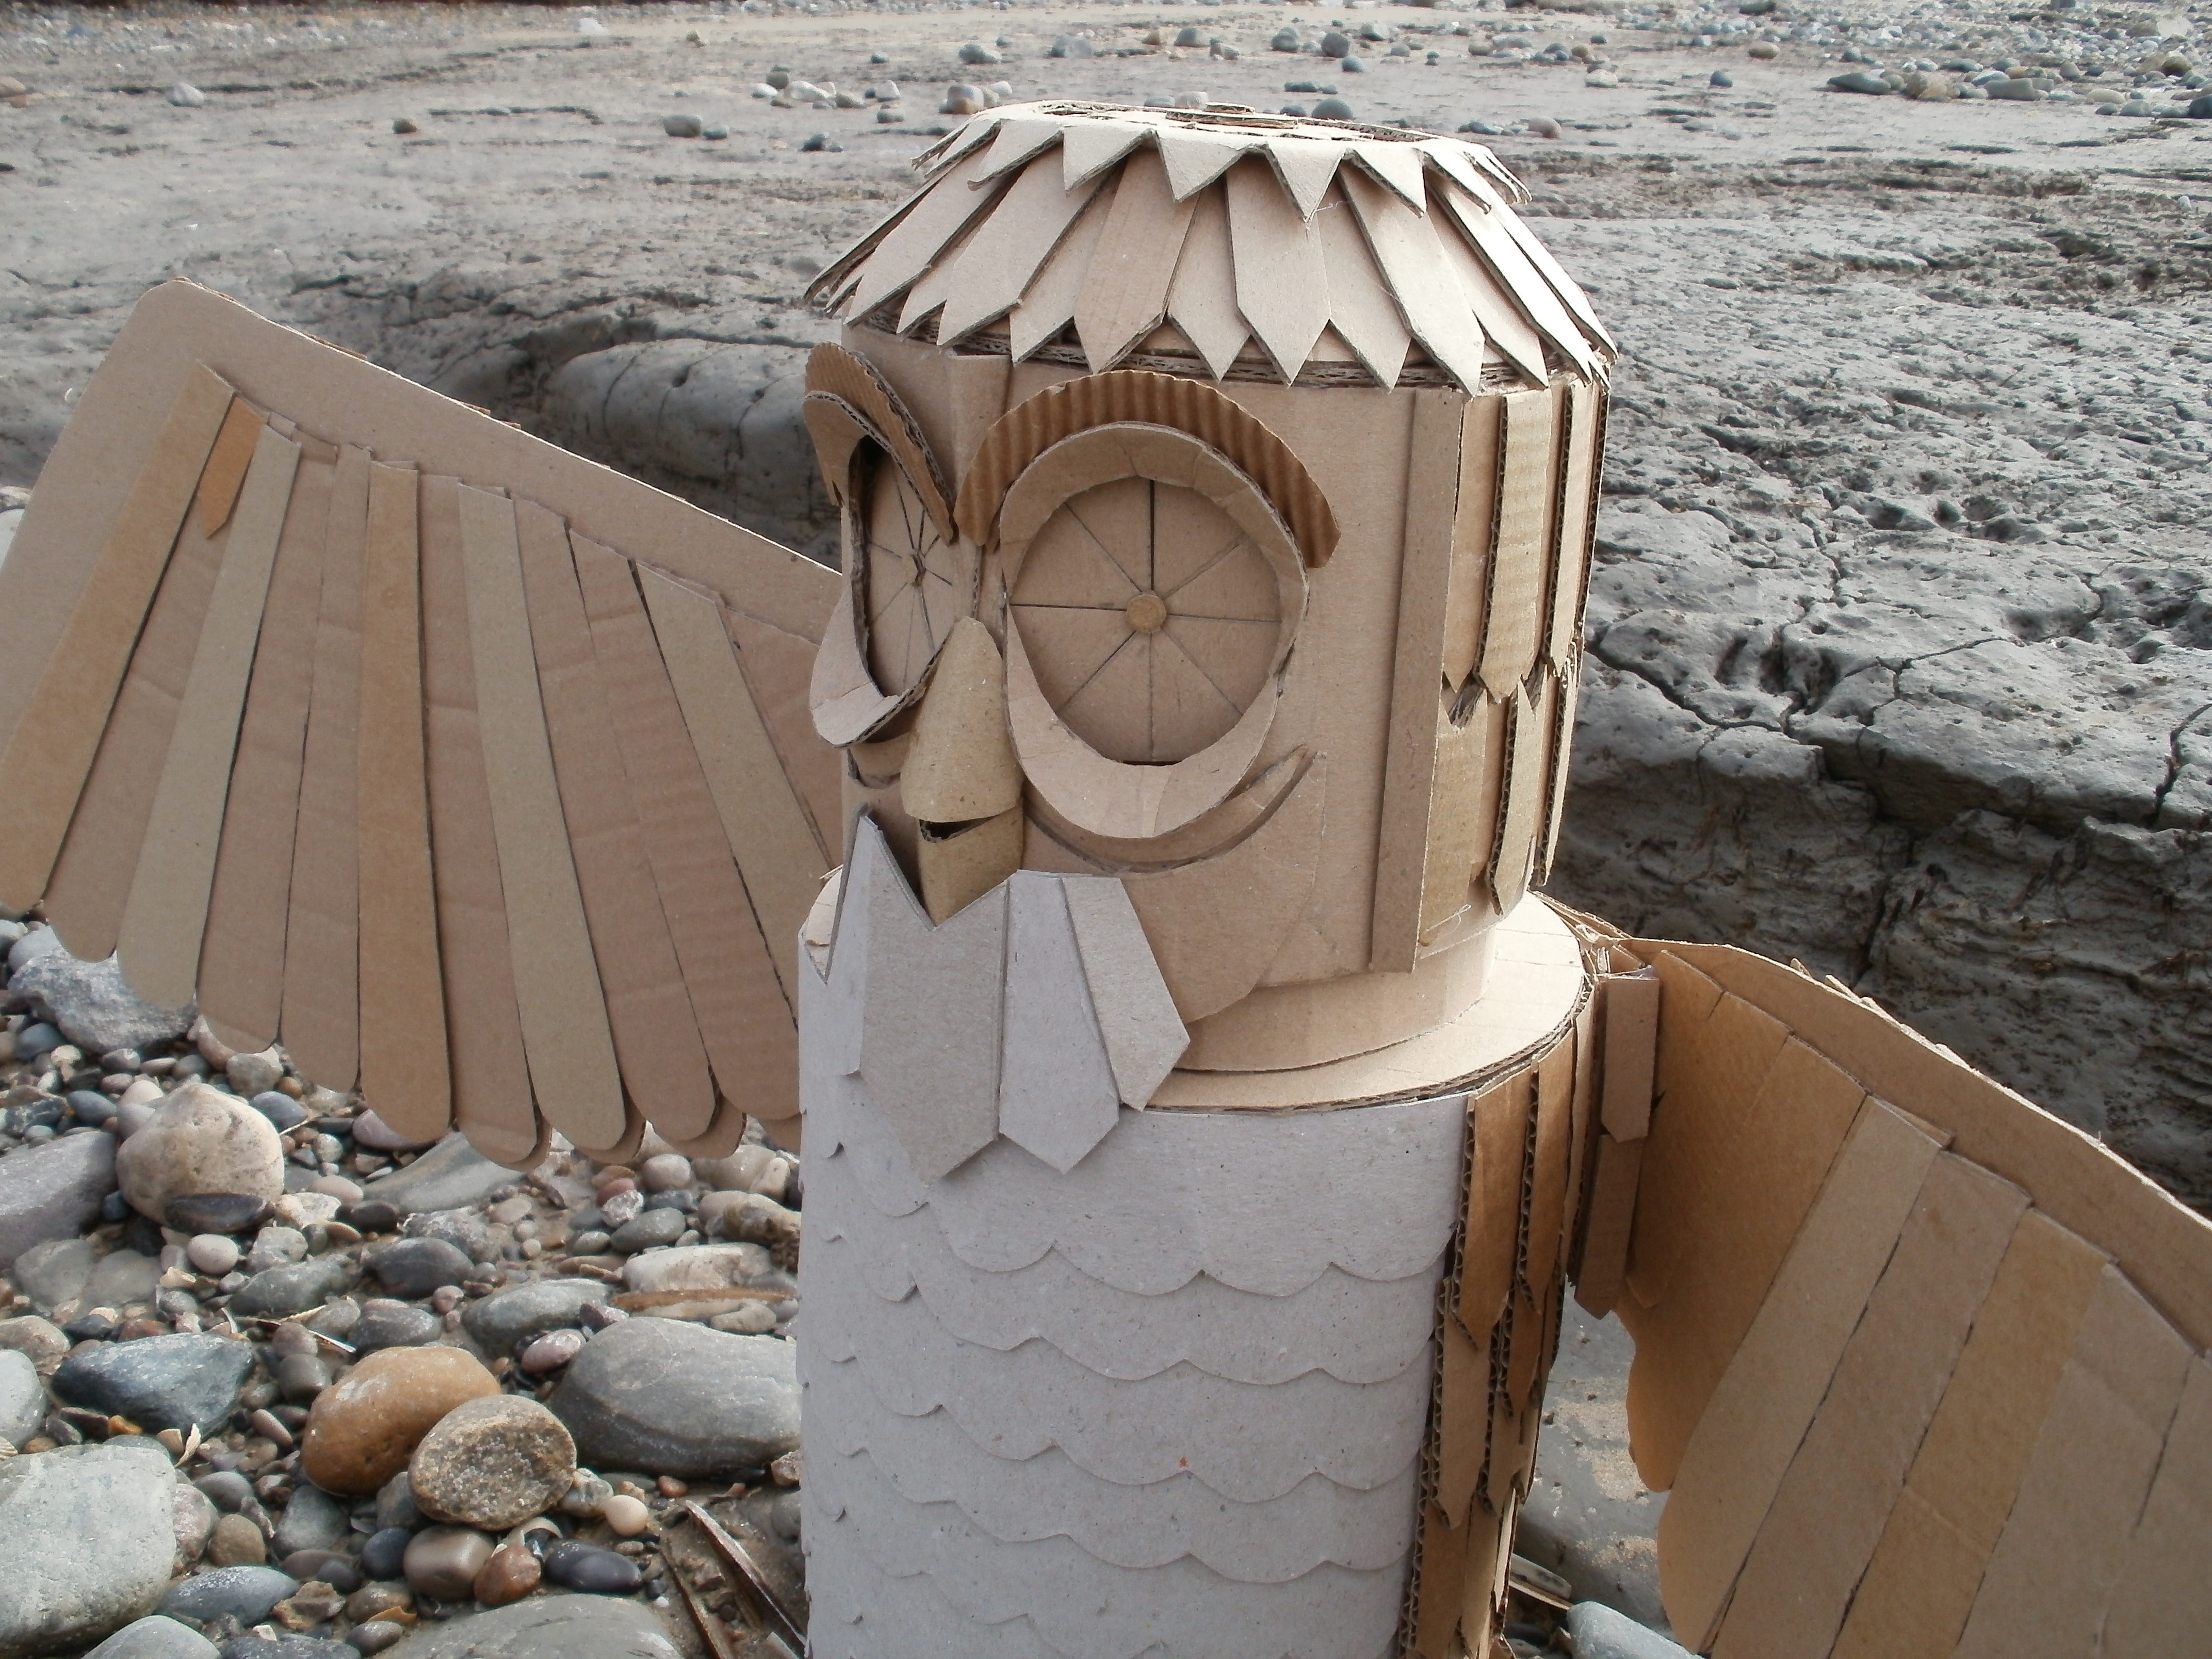

Step-by-step guide to make a cardboard creature
How to Make DIY Cardboard Animals (Step by step)
Step 1
Gather all Materials Needed in one spot.
Step 2
Decide what kind of creature you want to build.
Step 3
Use a pencil to draw the creature’s body parts and mark where the movable joints will go on the cardboard.
Step 4
Cut out the body parts and limb shapes with safety scissors.
Step 5
Score and fold any tabs or edges needed to make parts into 3D shapes.
Step 6
Glue the tabs to assemble the main body and press gently until the glue holds.
Step 7
Make small holes at each marked joint point on the body and limbs.
Step 8
Attach limbs through the holes using paper fasteners or by threading and tying strong string so the limbs can move.
Step 9
Reinforce weak spots and joints with tape or extra cardboard pieces.
Step 10
Paint a base coat on your creature.
Step 11
Let the paint dry completely before you touch it.
Step 12
Add decorations and details with paint or colouring materials.
Step 13
Test the moving limbs and the creature’s balance.
Step 14
Make small fixes like tightening joints or adding weight so it stands and moves well.
Step 15
Take a photo and share your finished creature on DIY.org.
Help!?
What can we use instead of paper fasteners if they’re hard to find?
If paper fasteners aren't available, use strong string threaded and tied through the small holes at each marked joint point or substitute small brads or cut drinking-straw pieces as movable pivots so the limbs can still move.
My creature’s limbs are floppy or keep falling off—what should I check?
Check that you made the small holes at each marked joint point correctly, tighten or replace loose paper fasteners or rethread the strong string, and reinforce weak spots and joints with tape or extra cardboard as suggested in the instructions.
How can I adapt the steps for different age groups?
For younger kids, pre-draw and pre-cut the body parts, skip scoring and use tape instead of glue and have an adult make the holes, while older kids can score and fold tabs, glue and assemble the 3D shapes themselves and add detailed painting after the base coat.
How can we extend or personalize the creature after assembly?
Enhance your creature by adding weighted feet or a cardboard base for balance, attaching movable accessories with extra cardboard and paper fasteners, decorating over the paint base coat with textured materials, and then take a photo to share on DIY.org.
Watch videos on how to make a cardboard creature
WOW!🤯VIRAL DIY: How to Make a Cardboard Shark!😱🦈✨ 📦 💡
3 Videos
WOW!🤯VIRAL DIY: How to Make a Cardboard Shark!😱🦈✨ 📦 💡
How to make a T-Rex out of CARDBOARD!
DIY T-Rex Using Cardboard | DIY Dinosaur Using Cardboard
Facts about recycled cardboard crafts
📦 Corrugated cardboard gets its strength from a wavy “flute” layer sandwiched between flat liners — that’s why boxes can hold heavy things.
♻️ Cardboard is one of the most recycled materials worldwide and can be turned into new paper or boxes again and again.
🎨 Papercraft and upcycling let kids turn a plain box into puppets, costumes, or creatures with just a few tools and lots of imagination.
✂️ Safety scissors for kids have rounded tips and blunter blades to help prevent cuts while still letting them snip shapes.
⚙️ Movable limbs introduce basic engineering ideas — simple hinges and levers make creatures wave, nod, or grab.
How do I make a cardboard creature with movable limbs?
What materials do I need to build a cardboard creature from recycled boxes?
What ages is a cardboard creature craft suitable for?
What are the benefits and safety tips for cardboard creature projects?
