Art Technique - Negative Space Drawing
Create negative-space drawings by arranging simple objects, tracing their outlines, shading surrounding areas, and revealing shapes made by empty space to study composition.
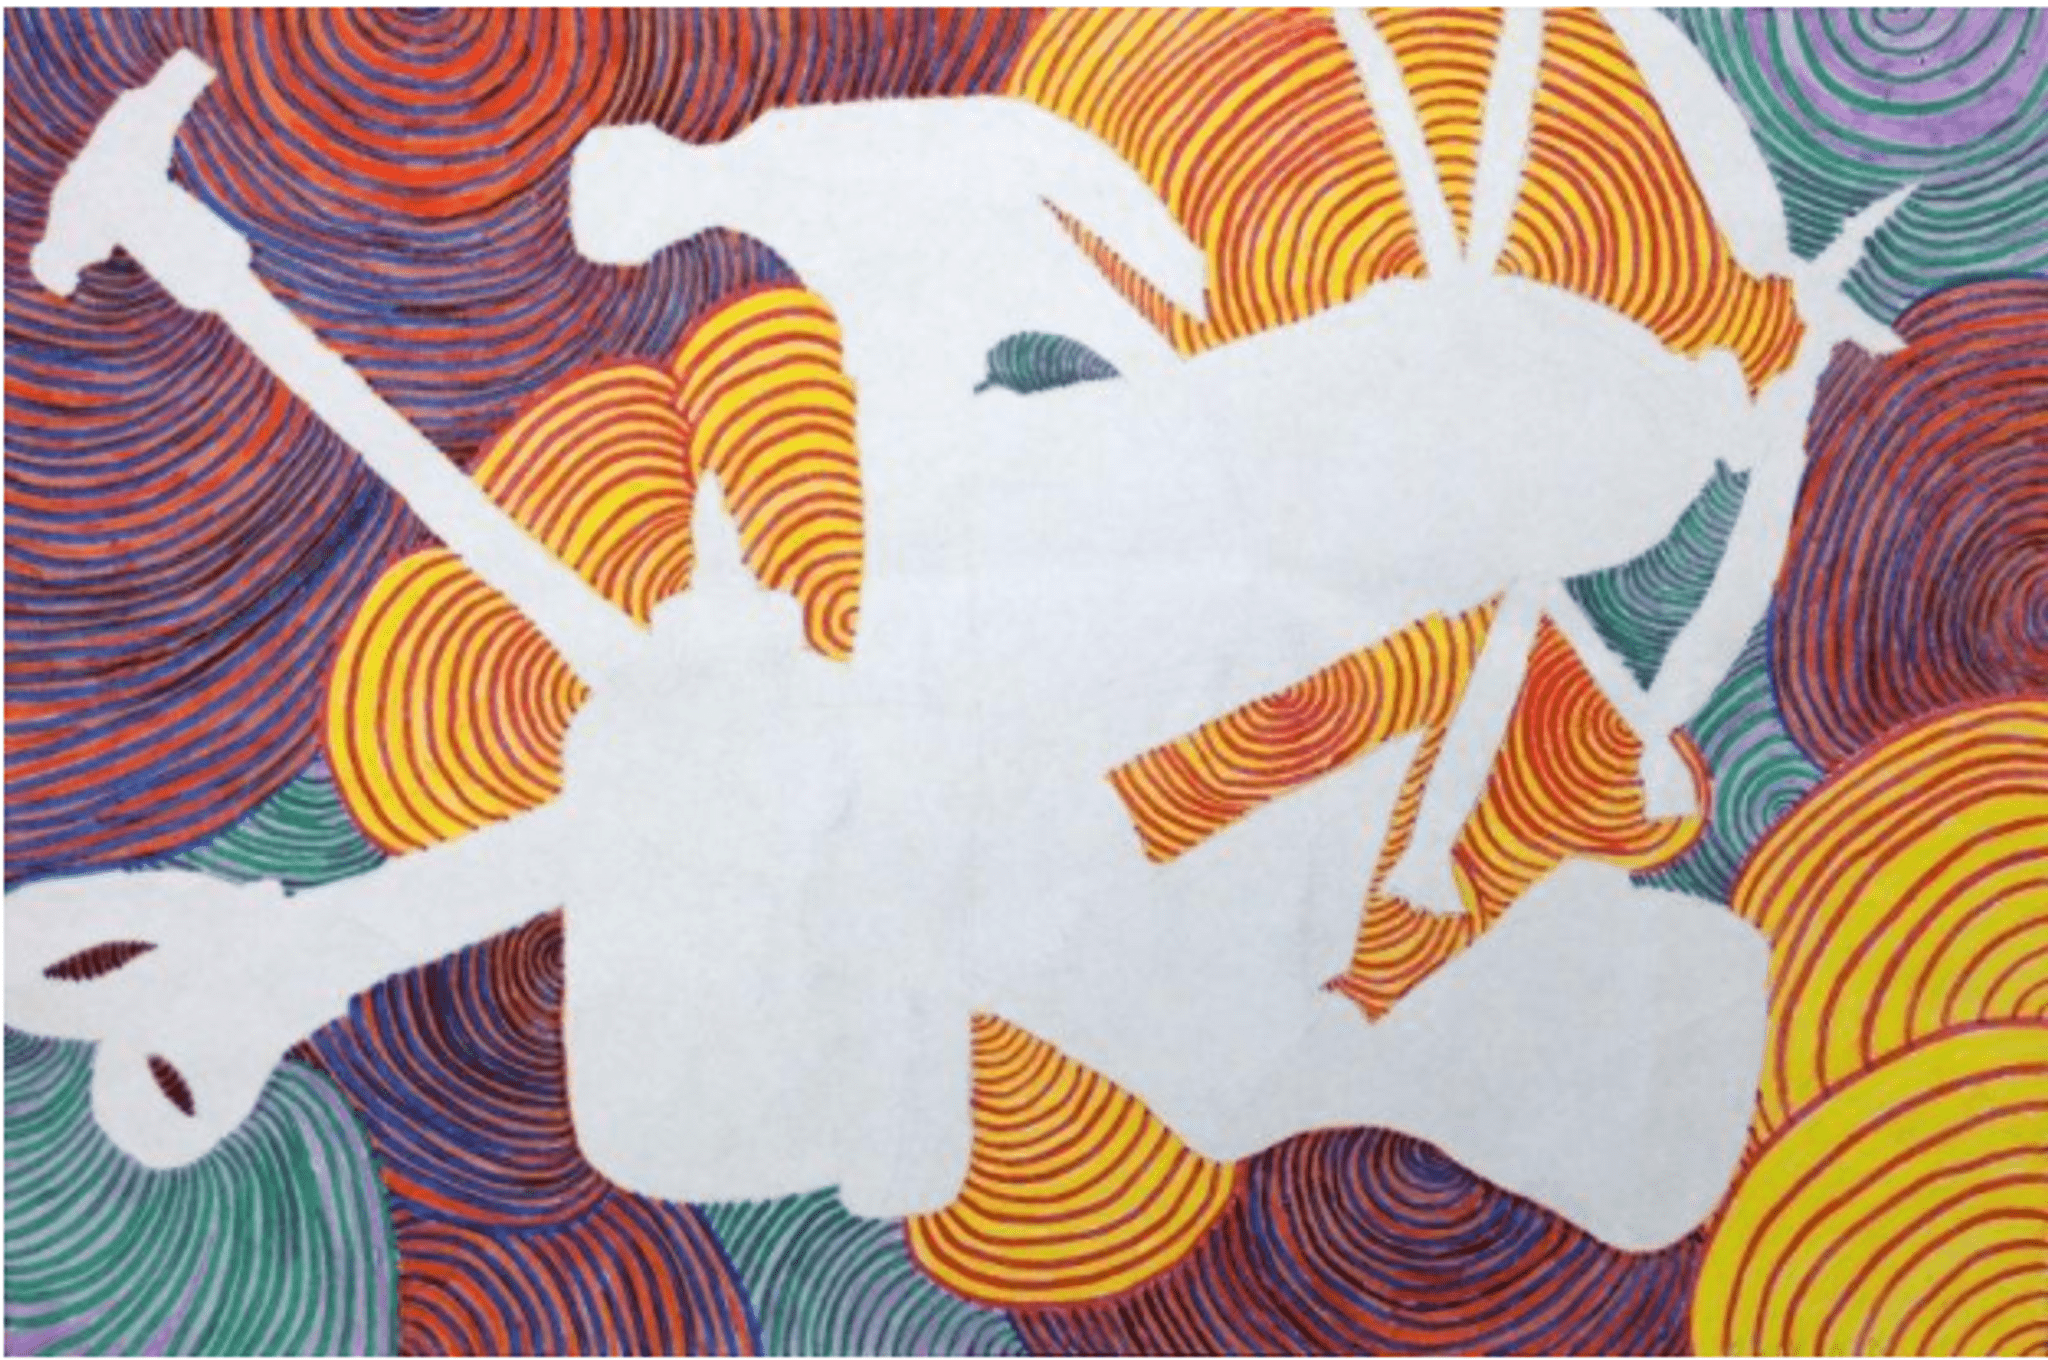
About this tutorial
Create negative-space drawings by arranging simple objects, tracing their outlines, shading surrounding areas, and revealing shapes made by empty space to study composition.
What you need
Instructions
- 1
Step 1
Choose a clean flat workspace to work on.
- 2
Step 2
Place one sheet of plain white paper on the workspace.
- 3
Step 3
Pick 3 to 6 small everyday objects to use in your composition.
- 4
Step 4
Arrange the objects on the paper until the shapes look interesting to you.
- 5
Step 5
Trace the outline of each object lightly with a pencil.
- 6
Step 6
Carefully lift each object off the paper so only the pencil outlines remain.
- 7
Step 7
Decide which areas around the outlines you will shade as the negative space.
- 8
Step 8
Shade only the chosen negative-space areas using your shading materials.
- 9
Step 9
Keep your shading smooth by making even strokes in the same direction.
- 10
Step 10
Darken the shading close to the outlines to help the empty shapes stand out.
- 11
Step 11
Add simple textures or patterns inside the shaded areas if you want more contrast.
- 12
Step 12
Write your name and a title on the drawing to show it is yours.
- 13
Step 13
Share your finished creation on DIY.org.
Fun facts
How do I teach a child to make a negative-space drawing?
Set up a flat workspace and arrange simple objects on white paper (toys, leaves, blocks). Lightly trace the objects’ outlines if children prefer, or draw only the contour of the empty space between and around objects. Use a soft pencil or charcoal to shade the areas around the objects, blending to create even tones. Remove objects to reveal the “negative” shapes, then refine edges and add details. Encourage experimenting with overlap and lighting.
What materials do I need for a negative-space drawing activity?
You’ll need plain drawing paper or a sketchbook, pencils (HB and 2B), a soft charcoal pencil or stick, an eraser, a pencil sharpener, and a blending stump or tissue for smoothing shading. Gather simple objects to arrange (buttons, leaves, small toys, blocks), along with clips or tape to hold paper and a strong lamp to create clear shadows. Optional: colored pencils, pastels, or fixative spray for finished pieces.
What ages is negative-space drawing suitable for?
Negative-space drawing works well for ages 4 and up. Preschoolers (4–6) enjoy tracing and simple shading with close supervision. Elementary children (6–10) can arrange objects, control shading, and explore composition. Tweens (10–14) can experiment with charcoal, stronger contrast, and more complex layouts. Adapt expectations and task complexity to each child’s fine-motor skills and attention span; offer help with tracing, safety with small objects, and step-by-step demonstrations.
What are the benefits, safety tips, and variations for negative-space drawing?
Benefits include improved observation, composition sense, spatial reasoning, and fine motor control as children focus on shapes formed by empty space. It boosts problem-solving and patience. For safety, avoid tiny choking hazards for younger children and use non-toxic materials when using charcoal or fixative. Variations: try colored backgrounds, paint negative space with gouache, use photo negatives, or make group compositions. Challenge older kids with timed still-lifes or layered overlapping
Watch & Learn
Need help?
What can we use instead of plain white paper or a pencil if those are not available?
Use printer paper or the back of a magazine for the plain white paper in step 2 and substitute a soft pen, chalk stick, or a charcoal pencil to trace outlines in step 4 if you don't have a regular pencil.
My shading looks blotchy or my outlines smudge when I lift objects—how can I fix that?
To prevent smudging when you lift objects in step 5 and keep shading smooth in steps 7–9, place a scrap sheet under your hand, lift objects straight up, use light even strokes in the same direction, and gently blend with a tissue or blending stump.
How can I change the activity for different ages?
For younger children use 1–2 large objects and crayons to color negative space after tracing in step 4, while older kids can choose 4–6 small objects and practice graphite shading with layering and blending in steps 7–9 for more detail.
What are some ways to extend or personalize our negative space drawing?
After completing the shaded negative spaces in steps 6–9, personalize the piece by adding colored patterns or collage inside the shaded areas, inventing a creative title in step 10, and then sharing the finished work on DIY.org as suggested in step 11.