Animate Food in Stop Motion
Create a short stop-motion movie using everyday food, a smartphone or camera, simple props, and basic frame-by-frame techniques to tell a story.
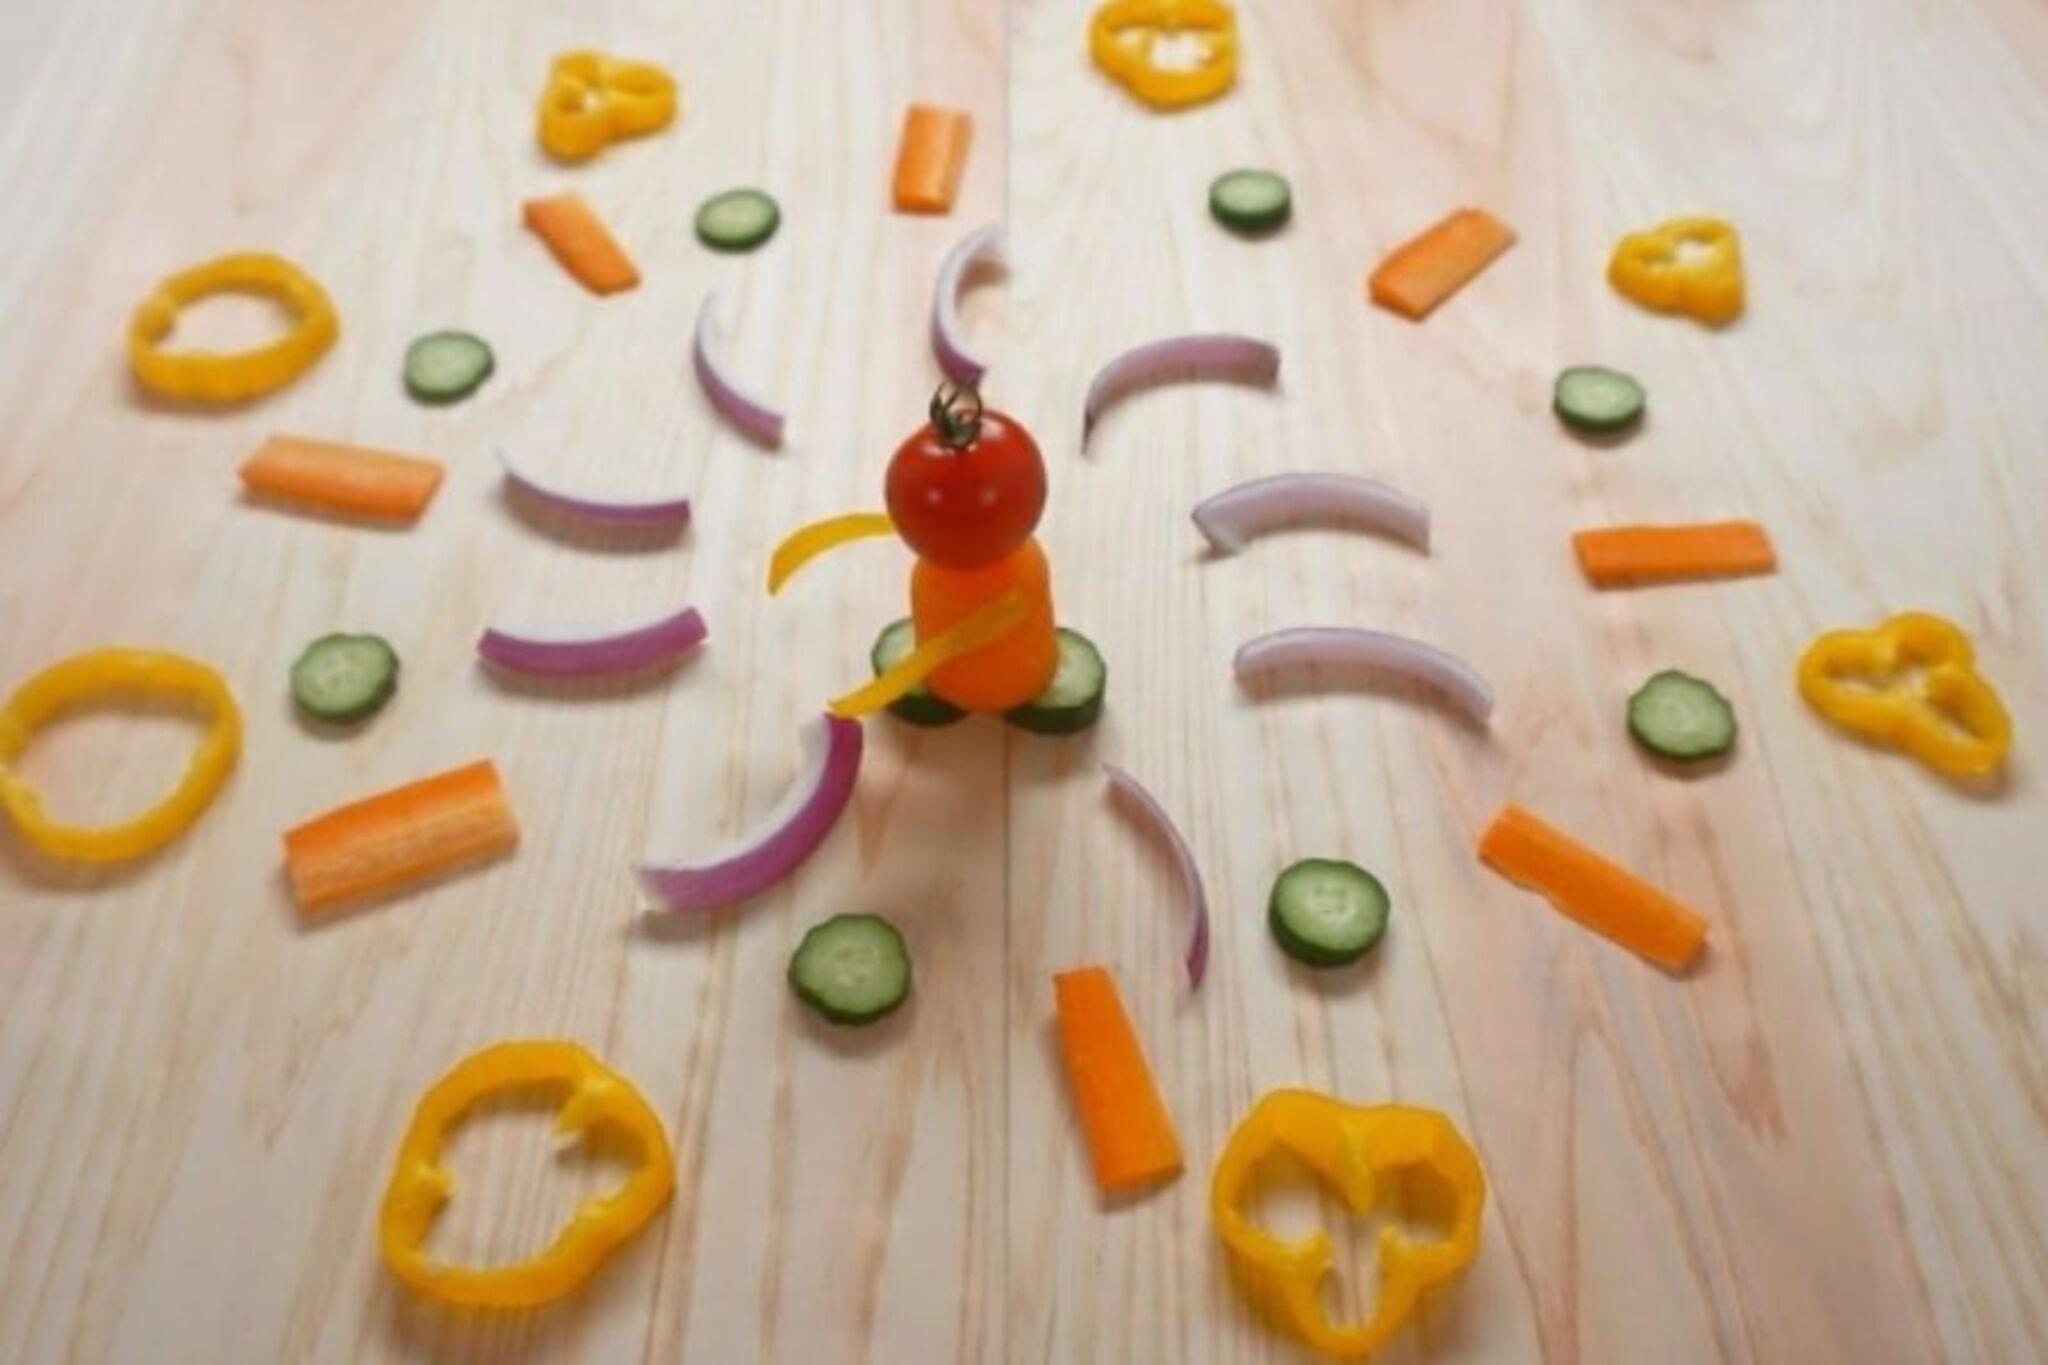
About this activity
Create a short stop-motion movie using everyday food, a smartphone or camera, simple props, and basic frame-by-frame techniques to tell a story.
What you need
Step by step
- 1
Step 1
Pick a short story idea for your movie like a race a snack that wakes up or a food friendship.
- 2
Step 2
Choose 3 to 5 foods to be your characters and put them on the plate.
- 3
Step 3
Make or pick simple props and keep them next to the plate.
- 4
Step 4
Create your stage by laying the background sheet on a flat surface and placing the plate on it.
- 5
Step 5
Arrange your food characters and props on the plate for the first scene.
- 6
Step 6
Put your phone or camera on the stand or stack of books and aim it so the whole plate is in the frame.
- 7
Step 7
Turn on the lamp and point it at the stage to make the lighting even.
- 8
Step 8
Open your stop-motion app or camera app and take a test photo to check the view.
- 9
Step 9
Pose your food characters for the starting shot.
- 10
Step 10
Take the first photo.
- 11
Step 11
Move one food piece a tiny bit to the next pose.
- 12
Step 12
Take another photo.
- 13
Step 13
Repeat Steps 11 and 12 until your story has all the moves you want.
- 14
Step 14
Use the app to assemble your photos into a movie and set the frame rate to 8 to 12 frames per second for smooth motion.
- 15
Step 15
Add a title or fun sounds if you like and share your finished movie on DIY.org
Fun facts
How do you animate food in stop motion?
Start by planning a short story and sketching scenes. Set up a stable surface, backdrop, and consistent lighting. Mount your smartphone or camera on a tripod and frame the shot. Place food and props, then take a photo. Move the food a tiny bit, take another photo, and repeat until the scene is complete. Import images into a stop-motion or video app, set frame rate (8–12 fps), add sound or titles, and export the movie.
What materials do I need to animate food in stop motion?
You’ll need a smartphone or camera, a tripod or steady surface, a plain backdrop (paper or cloth), consistent light source (lamp or window), everyday food that holds shape (fruit slices, grapes, cheese, cereal), small props (toothpicks, clay, sticky tack), scissors and plates, and a stop-motion or video-editing app. Optional: tweezers for tiny moves, colored paper for sets, and a microphone for sound. Keep food safety and cleanup in mind.
What ages is food stop-motion suitable for?
This activity suits children about 5 years and up with adult help; younger kids enjoy placing props while an adult handles the camera. Ages 8–12 can follow simple frame-by-frame techniques with supervision for safety and patience. Teens can take on more complex stories, editing, and sound design. Adjust complexity to attention span: short scenes and bigger movements for younger kids, smaller increments and more frames for older children.
What are the benefits of animating food in stop motion?
Animating food in stop motion builds creativity, storytelling, and planning skills while improving fine motor control and patience. It introduces basics of cinematography, sequencing, and digital editing—early STEM and media literacy. Working together teaches collaboration, following steps, and problem-solving. Short projects boost confidence when kids see their finished films. Encourage recycling props and using safe, non-perishable food for repeated takes; discuss food waste and offer alternat
Watch & Learn
Need help?
What can we use if we don't have a phone stand, lamp, or a stop‑motion app?
If you don't have a phone stand, lamp, or app, prop your phone on a stack of books or a sturdy box (step 6), use steady natural light or a household desk lamp instead of step 7, and try a free stop‑motion app or your camera's burst mode to capture the images for steps 9–13.
My photos are shaky or the lighting keeps changing — how do we fix that?
Stabilize the camera by securing it to the stack of books or stand (step 6), fix the lamp in one position and block shifting sunlight as suggested in step 7, and take a test photo (step 9) after each small move to confirm consistent framing for steps 11–12.
How can I change this activity for a 4‑year‑old versus a 12‑year‑old?
For a 4‑year‑old, use 1–2 foods with big, simple moves and an adult operating the phone (steps 2, 11–12), while a 12‑year‑old can use 3–5 characters, make tiny incremental moves, set the frame rate to 8–12 fps (step 14), and add titles or sounds in step 15.
What are fun ways to personalize or make the movie more advanced?
Personalize your movie by crafting tiny props or clay limbs for the foods (step 3), painting or decorating the background sheet (step 4), and using the app to add titles, voiceovers, or sound effects before sharing on DIY.org (steps 14–15).