Abstract Painting 101
Create an abstract painting using tempera or acrylic paints, brushes, sponges, and found objects to explore color mixing, texture, and creative expression.
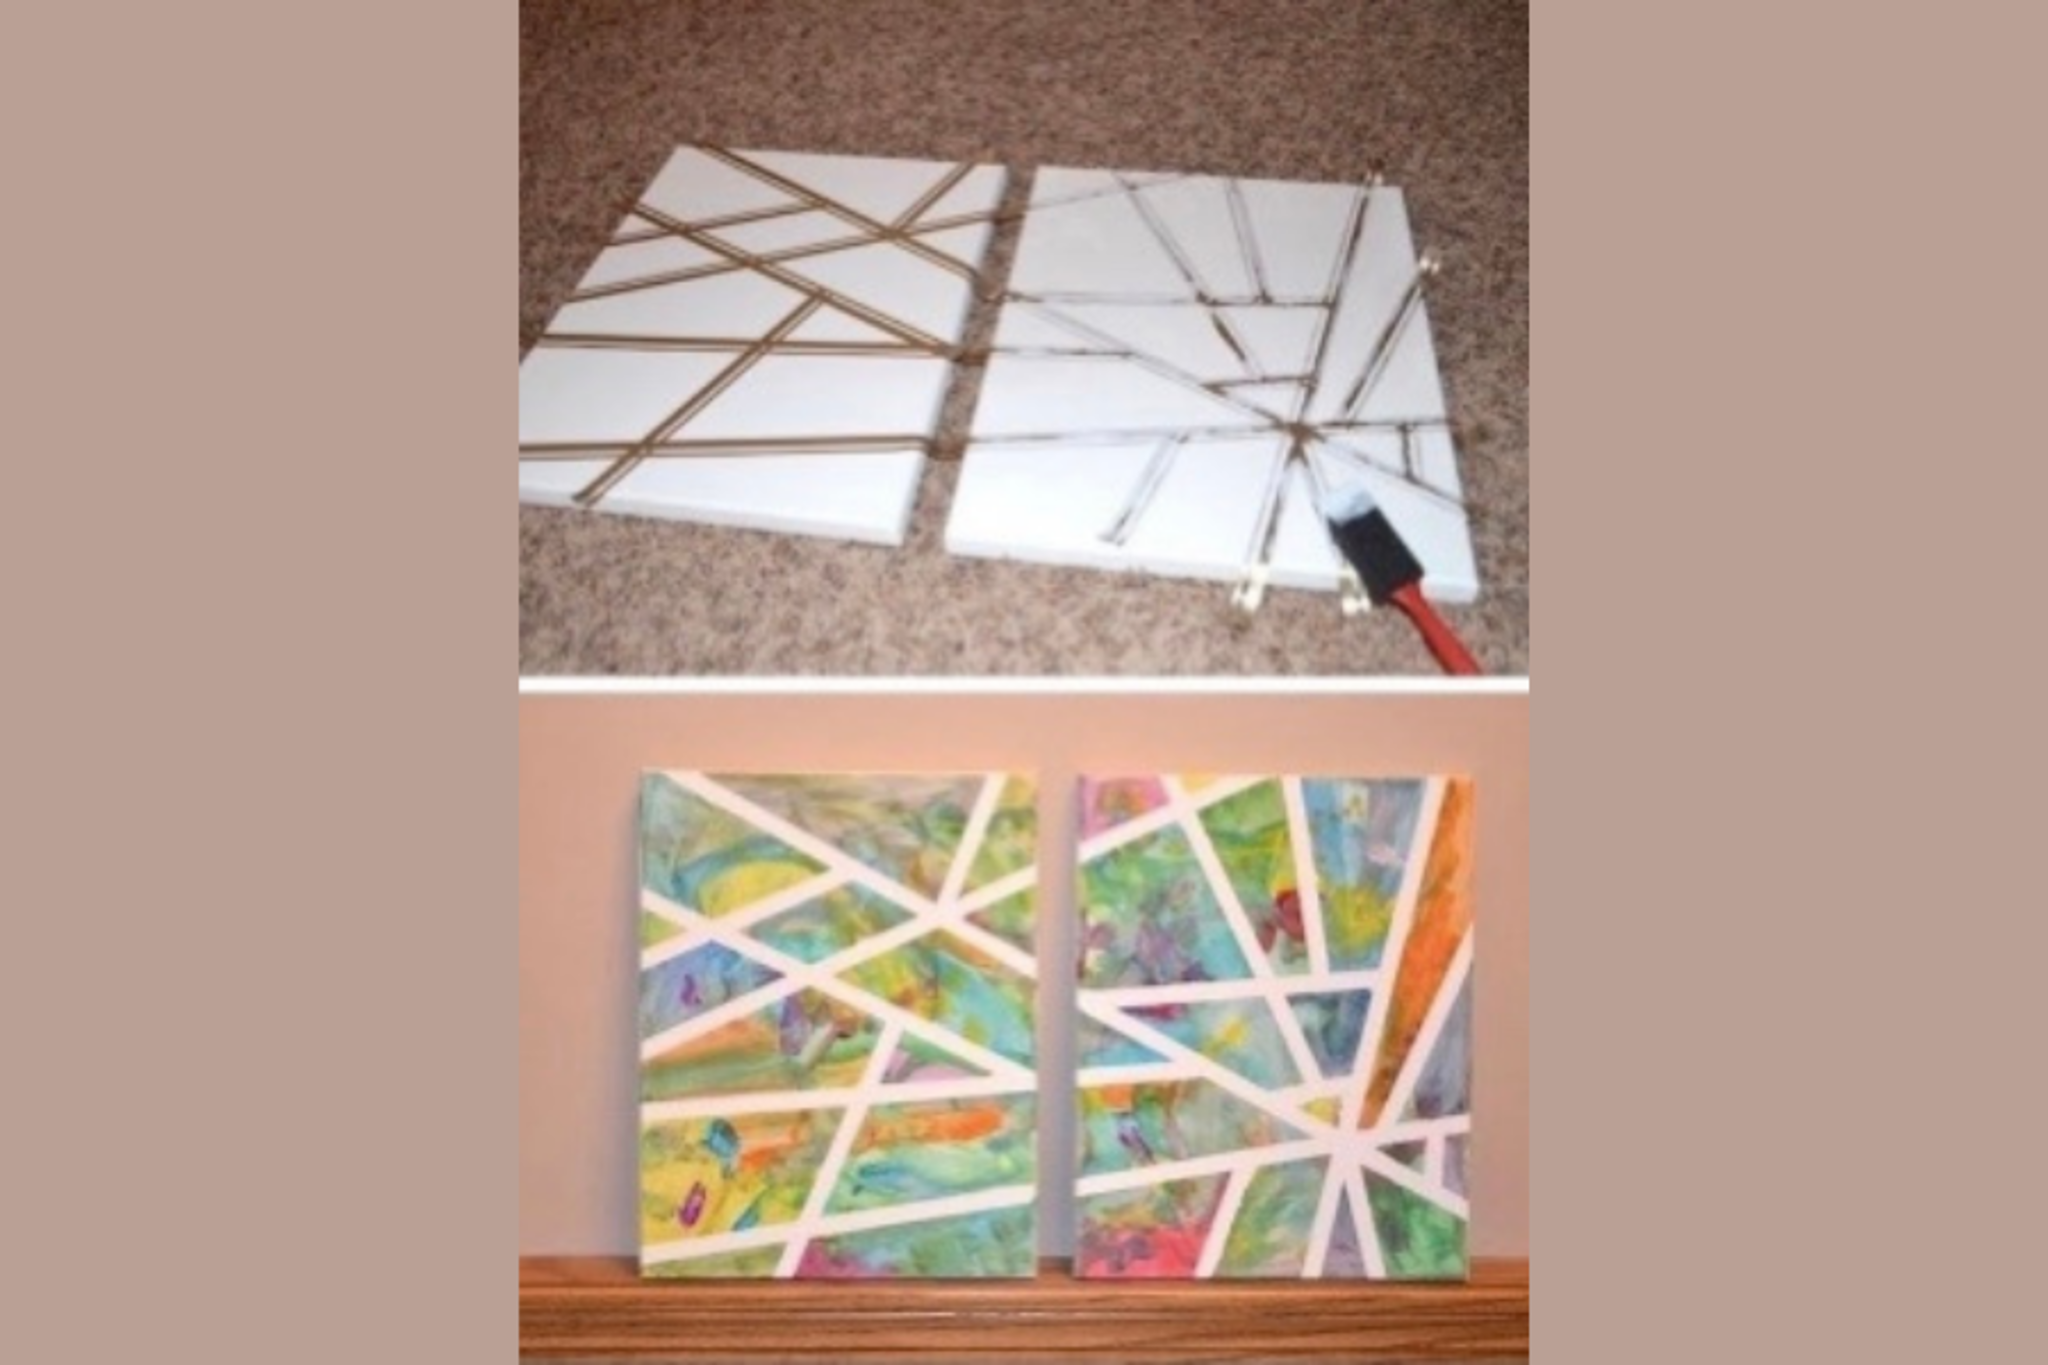
About this activity
Create an abstract painting using tempera or acrylic paints, brushes, sponges, and found objects to explore color mixing, texture, and creative expression.
What you need
Step by step
- 1
Step 1
Put on your apron or old shirt to protect your clothes.
- 2
Step 2
Cover your table with newspaper or an old sheet to keep the area clean.
- 3
Step 3
Put your canvas or thick watercolor paper flat on the table.
- 4
Step 4
Place paints paintbrushes sponges found objects palette cup of water and paper towels within reach.
- 5
Step 5
Squeeze small blobs of the colors you want onto your palette or paper plate.
- 6
Step 6
Mix two colors on the palette with a brush until you like the new shade.
- 7
Step 7
Dip a large brush or sponge into a paint color.
- 8
Step 8
Apply a base layer of color to the canvas using big strokes or dabs.
- 9
Step 9
Press a clean sponge or a found object into a paint color.
- 10
Step 10
Stamp the painted sponge or found object onto the canvas to add texture and shapes.
- 11
Step 11
Repeat mixing new colors and stamping to build up more layers of color and texture.
- 12
Step 12
Let the painting dry a little between layers before adding more paint.
- 13
Step 13
Add one final detail with a thin brush to finish your abstract painting.
- 14
Step 14
Share your finished creation on DIY.org
Fun facts
How do I do Abstract Painting 101 with my child?
Start by protecting the workspace and dressing your child in an apron. Let them choose tempera or acrylic paints and a surface (paper, canvas, or cardboard). Begin with color exploration—mix paints on a palette, then use brushes, sponges, and found objects to make marks and textures. Encourage layering, drying between layers, and playful experimentation rather than a specific outcome. Praise effort and talk about colors and sensations throughout the process.
What materials do I need for Abstract Painting 101?
Gather tempera or acrylic paints, a variety of brushes, sponges, a palette or disposable plate, water cups, paper towels, and a sturdy painting surface (paper, canvas board, or cardboard). Add found objects like bubble wrap, corks, combs, or leaves for texture. Include an apron or old shirt, masking tape to secure the surface, and a washable mat or newspaper to protect the table. Optional: a spray bottle for effects and a clear sealant when dry.
What ages is Abstract Painting 101 suitable for?
Abstract painting suits a wide age range. Toddlers (2–3) enjoy finger-painting and simple marks with washable paints under close supervision. Preschoolers (3–5) can use brushes, sponges, and found objects to explore textures. Children 6+ can try layering, color theory, and more controlled tools like palette knives. Adjust complexity, materials, and supervision for each age—young kids need more guidance and non-toxic, washable supplies.
What safety tips and variations can I try for Abstract Painting 101?
Use non-toxic, washable paints and supervise younger children closely. Ensure good ventilation with acrylics, cover clothes and surfaces, and avoid small choking hazards in found-object mixes. For variations, try string or marbling techniques, painting with toy wheels, using palette knives, or creating prints with vegetables and foam stamps. Offer different surfaces (wood scraps, fabric) and combine media like crayons under paint for resist effects to keep the activity fresh and engaging.
Watch & Learn
Need help?
What can we use instead of a canvas, palette, or commercial sponges if they're hard to find?
Use sturdy cardboard or the back of a cereal box in place of a canvas, a paper plate as your palette, and cut kitchen sponges, bubble wrap, or crumpled paper as found-object stamps while following step 3 and the stamping steps.
My colors are smearing or turning muddy when I stamp—how can I fix that?
If stamped textures smear or colors get muddy, blot excess paint off sponges on a paper towel, rinse your brush or sponge between colors, and remember to let the painting dry a little between layers before adding more paint as instructed.
How can I simplify or increase the challenge of this activity for different ages?
For preschoolers use washable paints, big brushes or sponges and skip the thin-brush final detail, while older kids can practice mixing precise shades on the palette, layer more complex textures and add the thin-brush detail before sharing on DIY.org.
What are some creative ways to extend or personalize the abstract painting once it's finished?
After the painting dries, add collage pieces like fabric or leaves with glue, use masking tape before the base layer to create sharp shapes, apply metallic paint or varnish for shine, or press additional found-object stamps for more texture to personalize it before photographing for DIY.org.