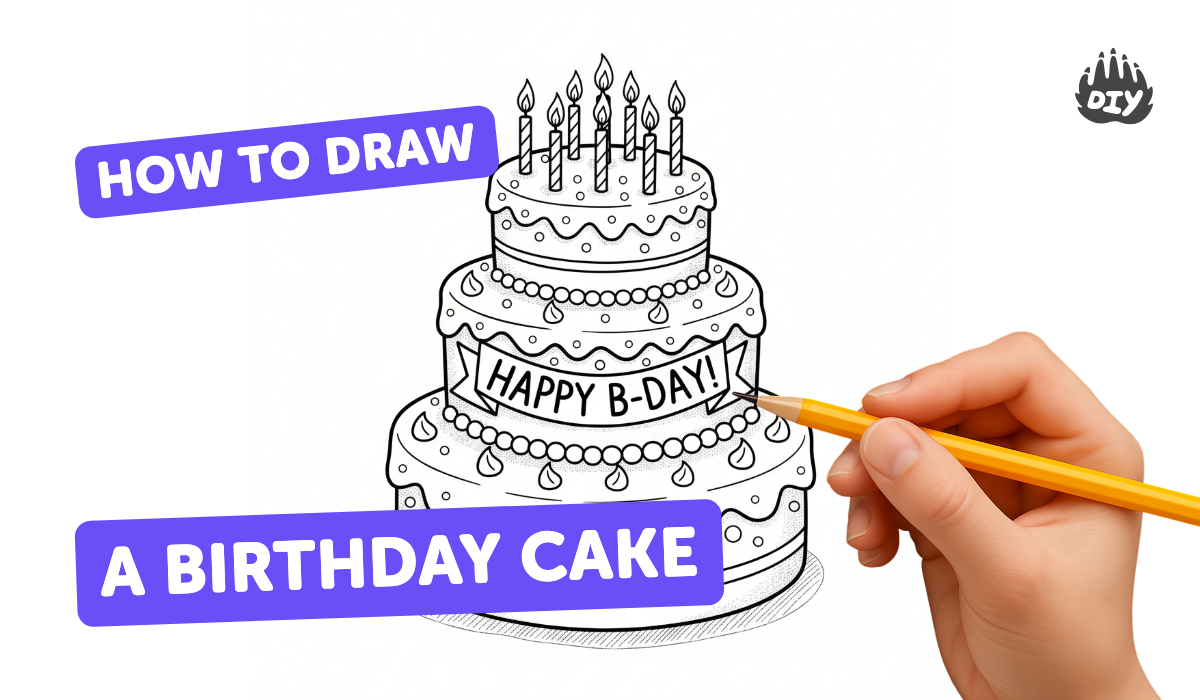
How to draw a birthday cake - a free birthday cake drawing guide
Draw a birthday cake step-by-step using pencil, color, and simple shapes. Add candles, decorations, and shadow to practice proportion and shading.

Drawing Apps
Photos of birthday cake drawing examples


Step-by-step guide to draw a birthday cake
How to Draw a Cute Birthday Cake with a Candle - Easy Drawing Tutorial for Kids & Beginners
Step 1
Put your paper on a flat table and hold your pencil ready.
Step 2
Lightly draw a horizontal line about one-third from the bottom to show the table edge.
Step 3
Draw a large horizontal oval above the line to make the top of the bottom cake tier.
Step 4
Draw two slightly curved vertical lines down from the oval and connect them with a curved bottom line to make the cake body.
Step 5
Draw a smaller oval centered on top of the first oval and add short vertical sides to make a second tier.
Step 6
Evenly space and draw four to six thin rectangles on the top oval to make candles.
Step 7
Draw a wavy line along the top edge of each tier to show icing.
Step 8
Add small decorations like circles or stars on the sides of the tiers for sprinkles and patterns.
Step 9
Lightly erase any extra guide marks and redraw any outlines you want darker.
Step 10
Decide where the light is coming from and shade the opposite side of each tier with light pencil strokes.
Step 11
Gently smudge the shaded areas with a tissue or blending tool to make smooth shadows.
Step 12
Color the cake and candles with your coloring materials using darker tones where you shaded.
Step 13
Draw yellow-orange flames on the candles and add a tiny white highlight to each flame.
Step 14
Share your finished drawing on DIY.org.
Help!?
What can I use if I don't have a blending tool or tissue for smudging the shading?
Use a cotton swab, your fingertip, or a folded piece of tissue in place of a blending tool to gently smudge the shaded areas described in the instructions.
My ovals and tiers look lopsided—how do I fix the top and bottom oval shapes so the cake lines up?
Lightly draw a vertical center guideline, trace the large and smaller ovals with a cup or jar for even shapes, then erase the guide so the smaller oval sits centered on top of the larger one.
How can I adapt this cake drawing activity for younger or older children?
For younger kids, pre-draw the table edge and ovals and have them add simple candles, wavy icing lines, and stickers, while older children can add extra tiers, more detailed shading with darker tones, and finer sprinkle patterns before erasing guide marks.
How can we personalize or extend the finished cake drawing before sharing it on DIY.org?
Personalize the cake by writing the birthday name and date on a tier, adding a plate or a shadow along the table edge, using glitter or colored highlights on the icing, or turning it into a pop-up card and then photograph it to share on DIY.org.
Watch videos on how to draw a birthday cake
How To Draw A Cute Birthday Cake
4 Videos
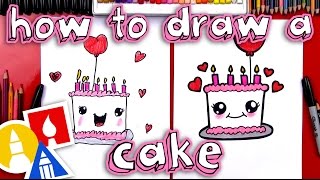
How To Draw A Cute Birthday Cake
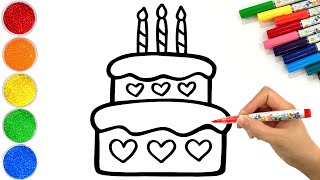
How to Draw a Birthday Cake | Easy Step by Step Tutorial | Made for Kids
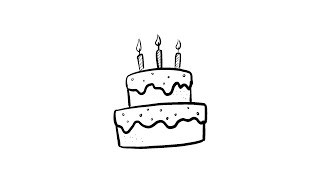
How to Draw a Simple Birthday Cake | Step-by-Step Lesson
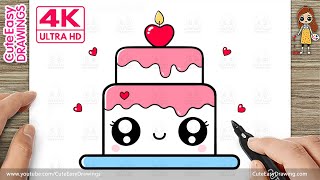
How to Draw a Cute Birthday Cake | Easy Drawing and Coloring for Kids @CuteEasyDrawings
Facts about drawing and shading for kids
🎂 People have celebrated birthdays with cakes for centuries — ancient Greeks baked round cakes to honor the moon and their gods.
🕯️ Candles on cakes became a popular birthday tradition and blowing them out in one breath is a fun wish-making ritual for kids.
✏️ Artists often start drawings by sketching simple shapes (ovals for layers, rectangles for slices) to get proportions right.
🎨 Adding a cast shadow under a cake instantly makes it look three-dimensional and grounded on the page.
🔍 Measuring with your pencil and counting candle spacing helps keep candle sizes and decorations even and proportional.
How do you draw a birthday cake step-by-step using pencil and color?
What materials do I need to draw a birthday cake?
What ages is this birthday cake drawing activity suitable for?
What are the benefits and fun variations of drawing a birthday cake?
