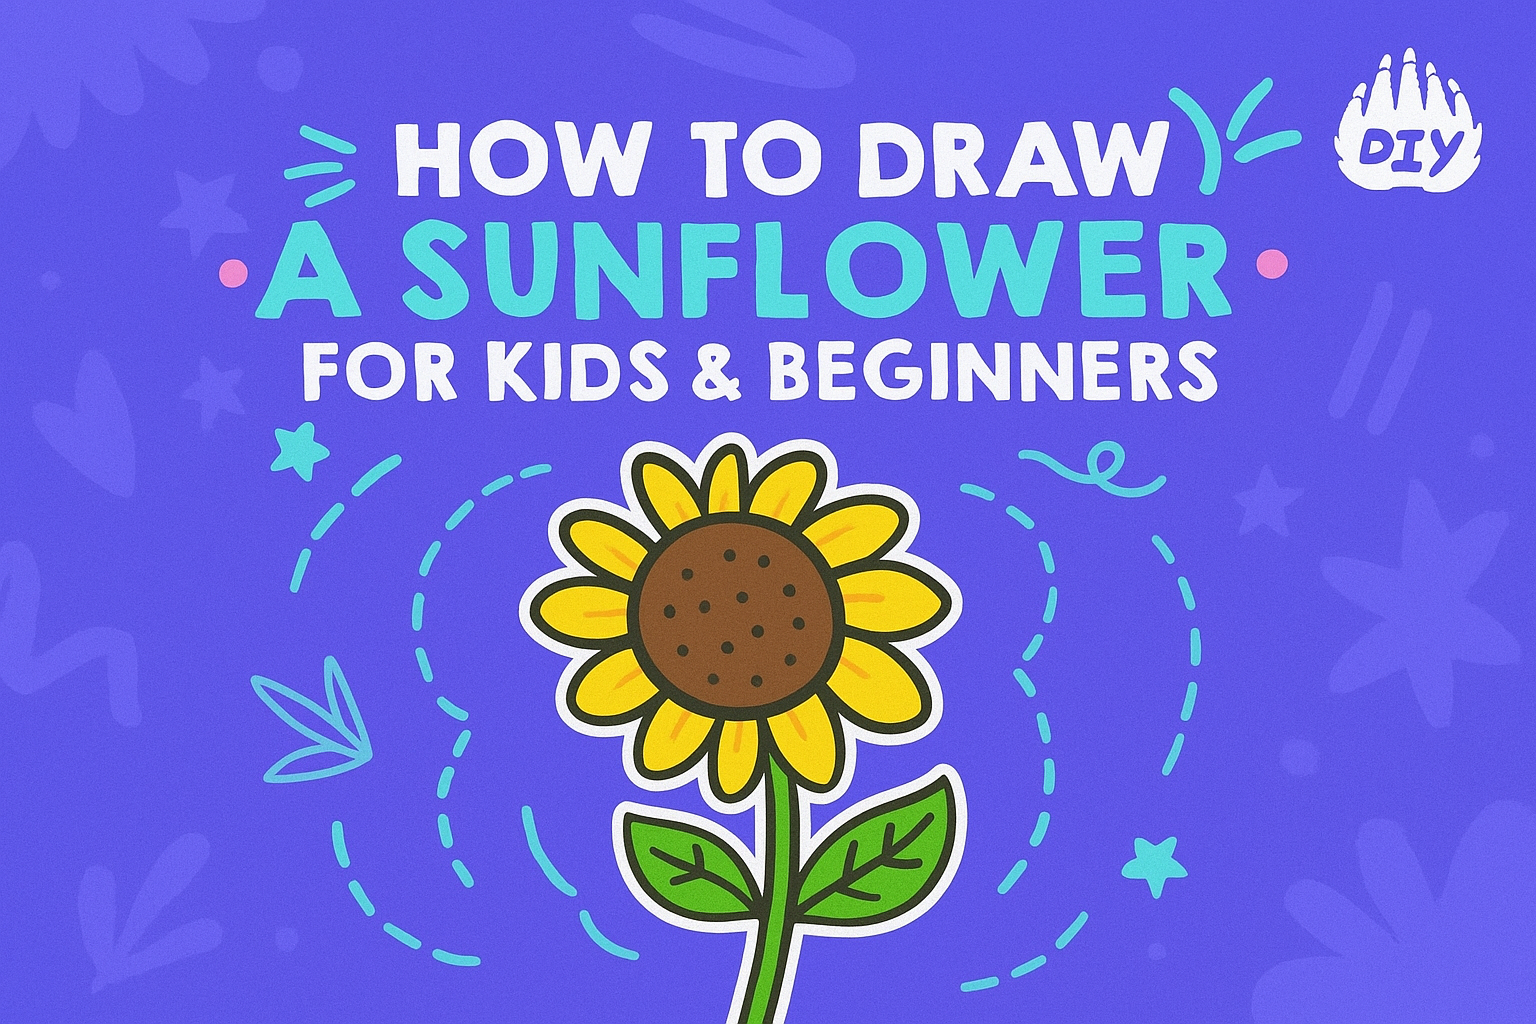
Today you’ll draw a bright, cheerful sunflower using three simple shapes in an easy How to Draw tutorial. This guide is designed for kids, first-time artists, and classrooms that need a fast, confidence-building project. Expect 10–15 minutes from the first circle to full bloom. Difficulty: easy no prior drawing experience needed.
What You Need to Draw a Sunflower
Pencil (HB is perfect)
Eraser
Black pen or fineliner/marker for outlining
Plain paper
Colouring tools (markers or coloured pencils)
Before You Start: The 3-Shape Map
Center: a circle that holds the seeds
Petals: skinny ovals with gently pointed tips
Stem & leaves: two straight lines for the stem + oval leaves with one midrib line
Trace a small lid or coin for a clean circle. Keep your earliest lines light so they erase cleanly after inking.
Sunflower Sketch Steps You Can Follow
1. Draw a light circle for the center
Place a small, light circle slightly above the middle of your page. This is the seed center, not the entire face of the flower to keep it modest in size.
2. Add a second, slightly bigger circle (seed ring)
Draw a second circle around the first. This ring helps space the petals and gives a natural boundary for seed dots later.
3. Petals layer 1: 8–10 ovals around the circle
Think like a clock. Drop petals at 12, 3, 6, and 9 o’clock first, then fill the gaps until you have 8–10 ovals. Let each oval taper at the tip; avoid flat ends.
4. Petals layer 2: fill gaps behind the first layer
Add a second row of petals peeking from behind the first. Keep these slightly shorter and tucked between the front petals so they read as “behind,” not on top.
5. Add the stem (two parallel lines)
From the base of the center, pull two parallel lines downward. Keep them close; sunflower stems are sturdy but not thick like a tree trunk.
6. Draw two leaves (simple ovals, add a midrib line)
Add one leaf on each side of the stem. Start with an oval, then draw a single line down the middle for the midrib. Angle one leaf up, the other slightly down for a lively pose.
7. Outline with pen
Ink only the lines you want to keep. Sharpen petal tips, smooth wobbles, and leave tiny gaps where petals meet the center for a lighter, more natural look.
8. Erase guidelines
Gently erase all pencil construction lines inside the petals and around the center. Your flower should now look clean and readable.
9. Add simple seed dots in the center
Use dots for texture: denser in the very middle, lighter as you approach the outer ring. This suggests real seeds without heavy shading.
10. (Optional) Add a tiny bee or sun in the corner
Keep it simple: an oval body with two small wings for a bee, or a small circle with short rays for a sun. The sunflower should remain the main focus.
Colour & Shading Tips
Center: Start with a darker brown in the middle, easing to a slightly lighter brown near the seed ring.
Petals: Use a warm yellow overall. Add a thin golden band where each petal meets the center to create instant depth. Keep tips a touch lighter for a sunlit feel.
Leaves & stem: Lay a light green base. Add a soft, darker green along one side of the stem and under each leaf tip to show light direction.
Markers vs. pencils: Markers deliver bright, flat colour quickly; coloured pencils help you blend and soften shadows. You can mix both just re-ink after colouring if edges need crisping.
Common Mistakes (and Easy Fixes)
Petals too short. Extend each petal with a thin outer outline and re-point the tip. Length helps the bloom feel open and sunny.
Lopsided center. Place a lid/coin over the circle and lightly retrace for a perfect edge. Re-ink the best circle and erase the old line.
Flat leaves. Add a clear midrib and a tiny shadow beneath each leaf tip. One or two strokes are enough to suggest volume.
Fun Variations
“Smiling sunflower” face: Two dots and a small curve inside the center. Kids love this version.
Mini field of 3 flowers: Draw small, medium, and large blooms at different heights.
Sunflower in a pot: A rectangle with a rim. Add a label to your name or a fun title to personalize.
Sunflower Sketch FAQs
How many petals should a sunflower have?
There’s no strict rule. For beginners, 12–20 petals looks full without getting fussy. Add the second layer behind the first for extra volume.
Do I draw the center as dots or lines?
Dots read like seeds and are fast. If you prefer lines, curve them slightly to hint at a spiral, but keep them light so they don’t overpower the petals.
Best markers for bright yellow?
Any student set works. Pair a warm yellow with a golden yellow for an easy two-tone effect. If using pencils, layer the warm yellow first, then lightly glaze a deeper tone near the base of each petal.
How do I make petals look layered?
Keep the front layer of petals continuous and clean. Tuck the second layer into the gaps so it peeks from behind rather than overlapping on top.
Printable Colouring Page (A4, black-and-white)
Great for early finishers, quiet time, or extra practice. Print and colour, or trace over the lines to build muscle memory.
You Might Also Like
How to Draw a Flower (build confidence with other blooms)
How to Draw a Rose (similar petal rhythm, smaller center)
Shading for Beginners (light → mid → dark, smooth blends)
Draw a Flower (Challenge) (quick practice prompt)
Take Inspiration from a Flower (Challenge) (observe shapes, colours, patterns)


