
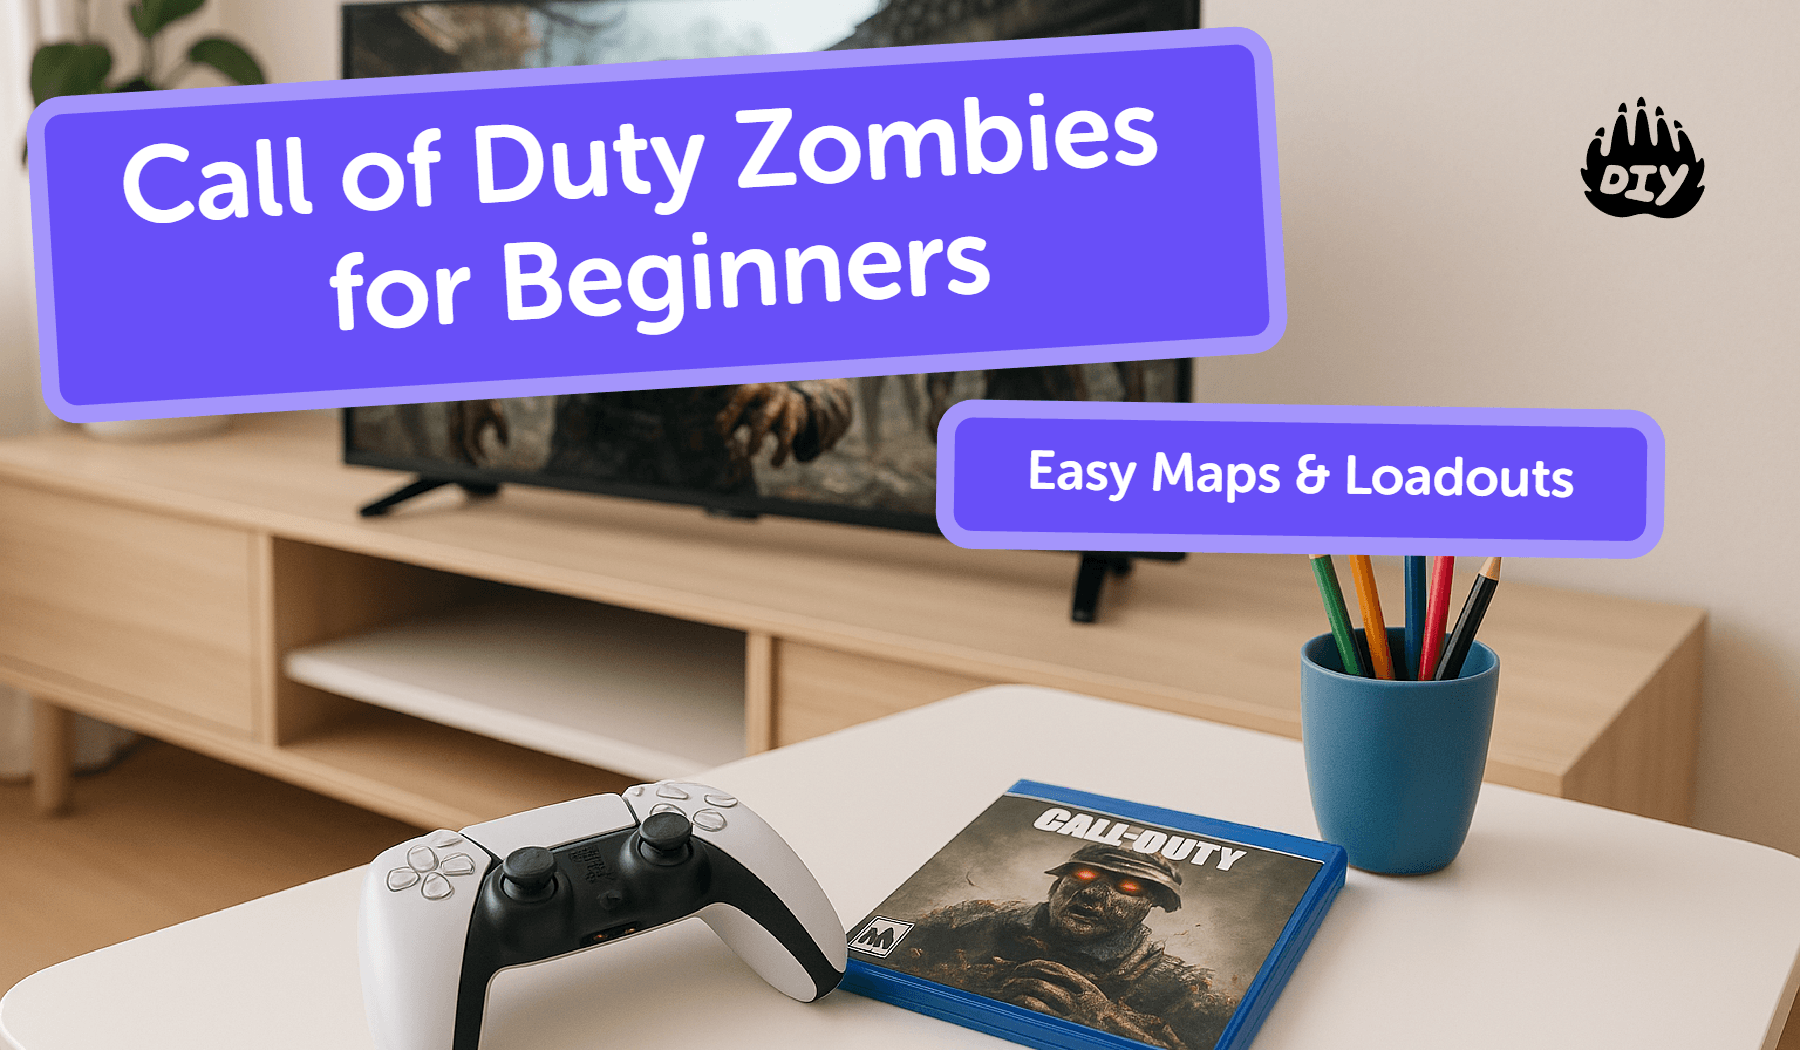
Best beginner maps: Pick maps with wide lanes, clear sightlines, and a fast route to Pack-a-Punch (PaP).
Safest starter loadout: A dependable shotgun plus Aether Shroud (escape button), with Jugger-Nog as your first perk.
Round plan: Farm early points, unlock power → PaP ASAP, then train in a safe loop and upgrade in stages.
Start Here. How Zombies Works (90-Second Primer)
Zombies is a round-based survival mode. Each round, enemies get tougher and spawn faster. Your goals never really change:
Open the map wisely (shortest path to power and PaP),
Upgrade damage early (PaP beats box RNG),
Stay alive (armor, self-revives, and smart routes).
Points economy: Knifing and precision kills pay better early; spraying a horde with a weak gun wastes ammo and time. Wall buys are reliable early; mystery boxes can wait until you’re stable.
Solo vs co-op: Solo teaches spawns and pacing; co-op pushes higher rounds once you’ve got fundamentals. Communicate doors, rotations, and revives.
Need a printable checklist or quick explainer for power, perks, or PaP math? Hand it to the AI Homework Helper to format, summarize, or make step-by-steps. 👉 Try AI Homework Helper
The Easiest Map Types for True Beginners
What to Look For | Why It Matters | Red Flags |
Wide training lanes | Easier kiting, fewer surprise hits | Tight hallways, lots of props |
Fast PaP route | Early damage/efficiency | Multi-step quests before PaP |
Early perks nearby | Quick survival boost (Jugger-Nog, Quick Revive) | Perks spread across the map |
Simple layout | Fewer wrong turns mid-round | Mazes, samey corridors |
Two unopened escape doors | Spawn control + emergency exits | Everything opened too early |
Long straight reload lane | Safe reloads/armor plates | Short rooms, dead ends |
Safe, No-Frills Loadouts That Work
Weapons (Priority Order)
Primary: Shotgun One-shot potential early, easy to use under pressure.
Secondary: SMG or AR For headshot farming and mobility.
Swap to LMG later if you struggle with ammo while training larger hordes.
Attachment logic:
Shotguns: Reload speed and mag size matter more than recoil.
SMG/AR: ADS speed and stability for consistent crits.
Consider an ammo mod after PaP II when you’re comfortably looping.
Field Upgrades (Pick One and Commit)
Field Upgrade | What It Does | Best For | Quick Tip |
Aether Shroud | Grants brief invisibility to escape corners or revive safely | Solo survival and emergency bailouts | Pop it before you’re fully trapped; use it to reposition to your training lane |
Ring of Fire | Creates a zone that boosts weapon damage and melts elites | Co-op holds and boss/miniboss waves | Drop it where your team stacks; time it before a heavy spawn for max value |
Armor & Self-Revive
Buy armor the moment plates are available. Keep a self-revive in your pocket before attempting objectives or boss waves.
Planning multiple variants (solo vs co-op loadouts) and want them numbered and printable? Paste your bullets into the AI Homework Helper and ask it for a 1-page loadout card. 👉 Generate a loadout card
The First 20 Rounds - A Calm, Repeatable Plan
Rounds 1–5: Farm Smart
Knife or headshot only.
Buy a cheap wall gun if overwhelmed; otherwise save.
Open only the path that leads to power/PaP (avoid extra doors that create unsafe spawn angles).
Rounds 6–12: Power → PaP → Perks
Turn on power and unlock PaP.
Upgrade your shotgun to PaP I.
Perk order for beginners:
Jugger-Nog (survival first)
Quick Revive (solo sustain)
Speed Cola (reloads)
Stamin-Up (movement for safer loops)
Buy armor and keep plates topped up.
Rounds 13–20+: Train & Stabilize
Run your safe loop; reload only in long lanes.
Boss/miniboss: Grenade or special ammo → shotgun burst → armor check.
Push to PaP II when ammo/damage feels tight; consider an ammo mod.
Add a second PaP’d weapon if your primary struggles with hordes.
Beginner Mistakes to Avoid
Beginner Mistake | Why It Hurts | What To Do Instead |
Boxing too early | RNG drains points and delays damage scaling | Prioritize turning on Power and Pack-a-Punch (PaP) before hitting the box |
Opening every door | Adds unsafe spawn angles and breaks your training loop | Open only the shortest path to Power/PaP; keep some doors closed to control spawns |
Corner camping | You’ll be overrun without a bailout like Ring of Fire | Train in wide lanes; use Ring of Fire for holds or Aether Shroud to escape |
Ignoring armor/self-reviving | Small mistakes become game-ending downs | Buy armor as soon as plates appear; keep a self-revive before objectives |
Reloading in choke points | Gets you trapped mid-animation | Reload in long sightlines or after completing a safe loop reset |
Simple Team Play (If You’re Co-Op)
Roles: One player kites (crowd control), one clears adds and covers reloads.
Communication: Call reloads, rotations, and “doors we’re keeping closed.”
Revive protocol: Pop field upgrade → clear path → revive → plate up together.
Share resources: Prioritize the weakest player for armor and Jugger-Nog to keep team DPS online.
Easy Objectives Only (What Actually Helps Beginners)
Focus on the essentials: turn on power and unlock Pack-a-Punch those are non-negotiable for damage and ammo efficiency. After that, pick just one optional objective, ideally something that rewards armor plates, salvage, or a dependable wall weapon so you stabilize without wasting time.
In MWZ/Outbreak-style modes, don’t be afraid to extract: if you’ve burned through plates, are low on self-revives, or have reached a natural stopping point, cashing out and banking progress is a smart win that sets up your next run.
FAQs
What’s the best first perk in Zombies?
Jugger-Nog. Surviving more hits gives you time to learn positioning and routes.
PaP first or perks first?
Usually PaP first damage and ammo efficiency stabilize your run.
Best early gun for points?
A fast SMG or AR you can headshot with. Swap to your PaP’d shotgun for emergencies.
Solo or co-op for beginners?
Start solo to learn spawns and pacing, then bring friends to push higher rounds.
When should I try Easter eggs?
Afterwards you can reach Round 20 consistently and handle boss waves without panic.
Want a step-by-step “Round 1–20” card or a custom practice plan? Ask the AI Homework Helper to turn this section into a checklist with timers and perk order. 👉 Make my Zombies checklist
Practice Off the Sticks (Skill Builders for Aim & Strategy)
Reaction drills: Short flick-aim sessions improve headshot reliability.
Map sketching: Draw your lane, loop, and two emergency exits.
Economy planning: Doors → PaP → perks → armor. Treat each choice like a budget.
Related DIY Challenges & Courses
More Blogs You Might Like
Map Traits Checklist (Save or Print)
Must-Have | Why It Matters |
Wide lanes with clean sightlines | Easier training, fewer blind corners |
Short path to Power/PaP | Fast damage scaling and ammo efficiency |
Early Jugger-Nog access | Survivability while learning spawns |
Two unopened “escape” doors | Control spawns; emergency pathing |
Nearby armor station | Keeps you alive during mistakes |
Simple landmarking | You won’t get lost mid-round |
Perk Order (Beginner-Friendly): Jugger-Nog → Quick Revive (solo) → Speed Cola → Stamin-Up
